I’ve MOVED!

Do you want the goods news or the bad news first?  It’s Monday, and Mondays are already unexciting, so let’s go with the good first.

Good news:  I’ve upgraded my site!  I now have my own fancy URL, and I’ll be able to tweak the look of the site whenever I want.  I’ll admit that this is better news for me than for you, so I guess that leads right into the….

Bad news:  The site is here: http://www.gwensfishfood.com.  All of my posts have been migrated over there, but, unfortunately, I am not able to migrate subscribers.  So all of you wonderful people who have agreed to receive my rantings and ravings in your mailbox will have to sign up again.

Just to be clear:  I will no longer be posting on this site, but rather will be posting here: http://www.gwensfishfood.com.  Come on over and follow me there!

Snowpocalypse Mexi-hot Chocolate

Today it snowed, maybe….1/4 of an inch in Austin.  So, naturally, the whole city shut down.  While I think this is a bit silly, what I don’t think is silly is that my office was one of those things that shut down.  Yay for two days off in one week (Thanks MLK!)!

I decided to watch the movie Frozen, which I had made Mr. LF download for me for some future time when he wasn’t at home.  He doesn’t like cartoons.  I do.  Now I get a get-out-of-jail-out-free card next time he wants to watch conspiracy theory documentaries about aliens or 9/11.  Compromise.   I love Disney movies.  And Frozen, true to form, was very cute.

It also, however, made me want hot chocolate.  Of the Mexican variety.  Because I’m Mexican.  Well, I’m not.  But I’m half Nicaraguan, which to everyone else means Mexican.  And I’m spicy.  Like this drink.  I’m not sure why I’m writing like this.  I could be going a little stir crazy.

Anywho, I’m gonna write this recipe a little differently because it’s basically two steps, so I took detailed photographic evidence of it.

Step 1.  Assemble the following ingredients:

2 cups unsweetened almond milk, preferably homemade
2 tbsp cocoa powder, dutch-processed or otherwise
2 tbsp sugar
1/2 tsp cinnamon
1/4 tsp vanilla extract
A dash of nutmeg, cayenne, and chipotle powder

But it doesn't have to look like this.

But it doesn’t have to look like this.

Step 2.  Pour all the ingredients into a medium saucepan over medium heat.
20140124_195949Step 3.  Whisk everything together so it dissolves.

Frothy yumminess.

Frothy yumminess.

Step 4.  When the milk starts simmering, or when you can’t stand the delicious smells any longer, pour into your favorite mug and enjoy!

My mug says, "Hello"! Can you see it?

My mug says, “Hello”! Can you see it?

Home-made Almond Milk

The thing that never fails to elicit either a quizzical glance or a curious question is when I tell someone that I make my own almond milk.

I’m not exactly sure why this always takes people by surprise, but I suspect it has something to do with the fact that the things we buy in the store, the things that come already made for us, are complete mysteries to us.  I mean, how many of you already buy almond milk at your grocery store?  Or coconut milk?  Or almond butter?  Or any number of other products.   We buy them on autopilot, because the food industry has succeeded in making us believe that those unpronounceable ingredients on the back of the package are somehow necessary to make that product.

So I think when someone hears that I make almond milk, it’s jarring.  I can usually see the emotions and thoughts flit across their face–amusement then confusion then some brief thoughts of “She’s fallen off the edge,” and then, finally, genuine interest–all culminating in the question:  How?

And my answer is always: “It’s the easiest thing in the world!”  That’s not even a little bit of a lie.  In fact, the directions boil down to three steps:

Step 1:  Soak.
Step 2: Blend.
Step 3: Strain.

Really, that’s all it takes.  And the result is a slightly sweet, not as thick, more almond-flavored, light-feeling beverage.  I go with unsweetened because I usually end up using it in recipes where I want to tailor the flavor a little more, but you could absolutely add a date, sugar, vanilla, or any other number of flavorings to the blender to sweeten it.

Home-made Almond Milk
Makes about 6 1/2 cup servings

20140121_220607

Ingredients:

1.5 cups almonds
3.5 cups water
Small bowl with a lid
1 air-tight container
Cheesecloth or a nut milk bag
One medium or large strainer
A blender
Optional flavorings: date, sugar, cinnamon, vanilla extract

Directions:

1.  Put the almonds in the small bowl, and fill with water until the almonds are covered.  Put the lid on, and let the almonds sit (on your countertop is fine) at least overnight.  The longer you let them sit, the creamier your milk will be.  I have let them sit for 2 days, but I probably would not exceed that.

20140124_200715
2.  Pour the almonds into your strainer to get rid of the old water (thought you were gonna drink that, didn’t you?).  Put the strained almonds into the blender.  Add the 3.5 cups of fresh, filtered water.  Add any flavorings you want.  Blend for about 5 minutes.
3.  While it’s blending, set up your squeeze station.  I balance the strainer into a bowl like so:

20140124_161609

 Then, line the inside of the strainer with the cheesecloth.  The strainer will do the job of sifting through the almond pieces, but you’ll want to cheesecloth so you can take out the drained mixture and squeeze the hell out of it.
4.  Pour the blended almonds into the strainer.  If your strainer is big enough, you could pour the whole thing in and let gravity do the work.  If it’s not, you can do as I do and pour in a little bit at a time, let it sit, and then press down on the mixture with a spatula when I get impatient.
5.  At some point, the dripping will start to slow down as the almond meal starts to clog the pipeline.  That’s when you do this:

20140121_215532

Take the cheesecloth out of the strainer, wrap everything up so no almond milk will spill out of the open sides, and use whatever amount of muscle you may have to squeeze the life out those poor little almonds.  Voila, almond milk!
6.  OPTIONAL:  if you have any moral qualms about discarding all the leftover almond bits, you can repurpose them and make almond meal!  Just preheat your oven to 200 degrees, spread the mixture out on a baking sheet, bake for about 2 hours until dried out, and then pulse it in a food processor for a little bit.  This can replace flours in baked goods or bread crumbs in pretty much any other dish!

Lighter Shepherd’s Pie

Finally, something not breakfast related!  This is a recipe I had on the back burner for a while.  Mr. Little Fish is very much a (lean) meat and potatoes kind of guy, so he tends not to be overly willing to try new things.

Now, sometimes, when I think Mr. LF isn’t going to like something (or particularly when I know he isn’t gonna like something), I like to play a little game where I try to hide the things in foods he does like, and then SPRING IT ON HIM after he gives a good review.  I’m sure it does not surprise you that I enjoy this game much more than he does.  My special guest star in this recipe?  Cauliflower.  Dude doesn’t like it.  But he does like mashed potatoes.  So, I went halfsies, wanting to get more veggies out of the dish while reducing the starch/carb content a little.  I think my plan would have been perfectly executed, if not for the fact that he actually got home before I did and so saw me unpack the groceries.  =/

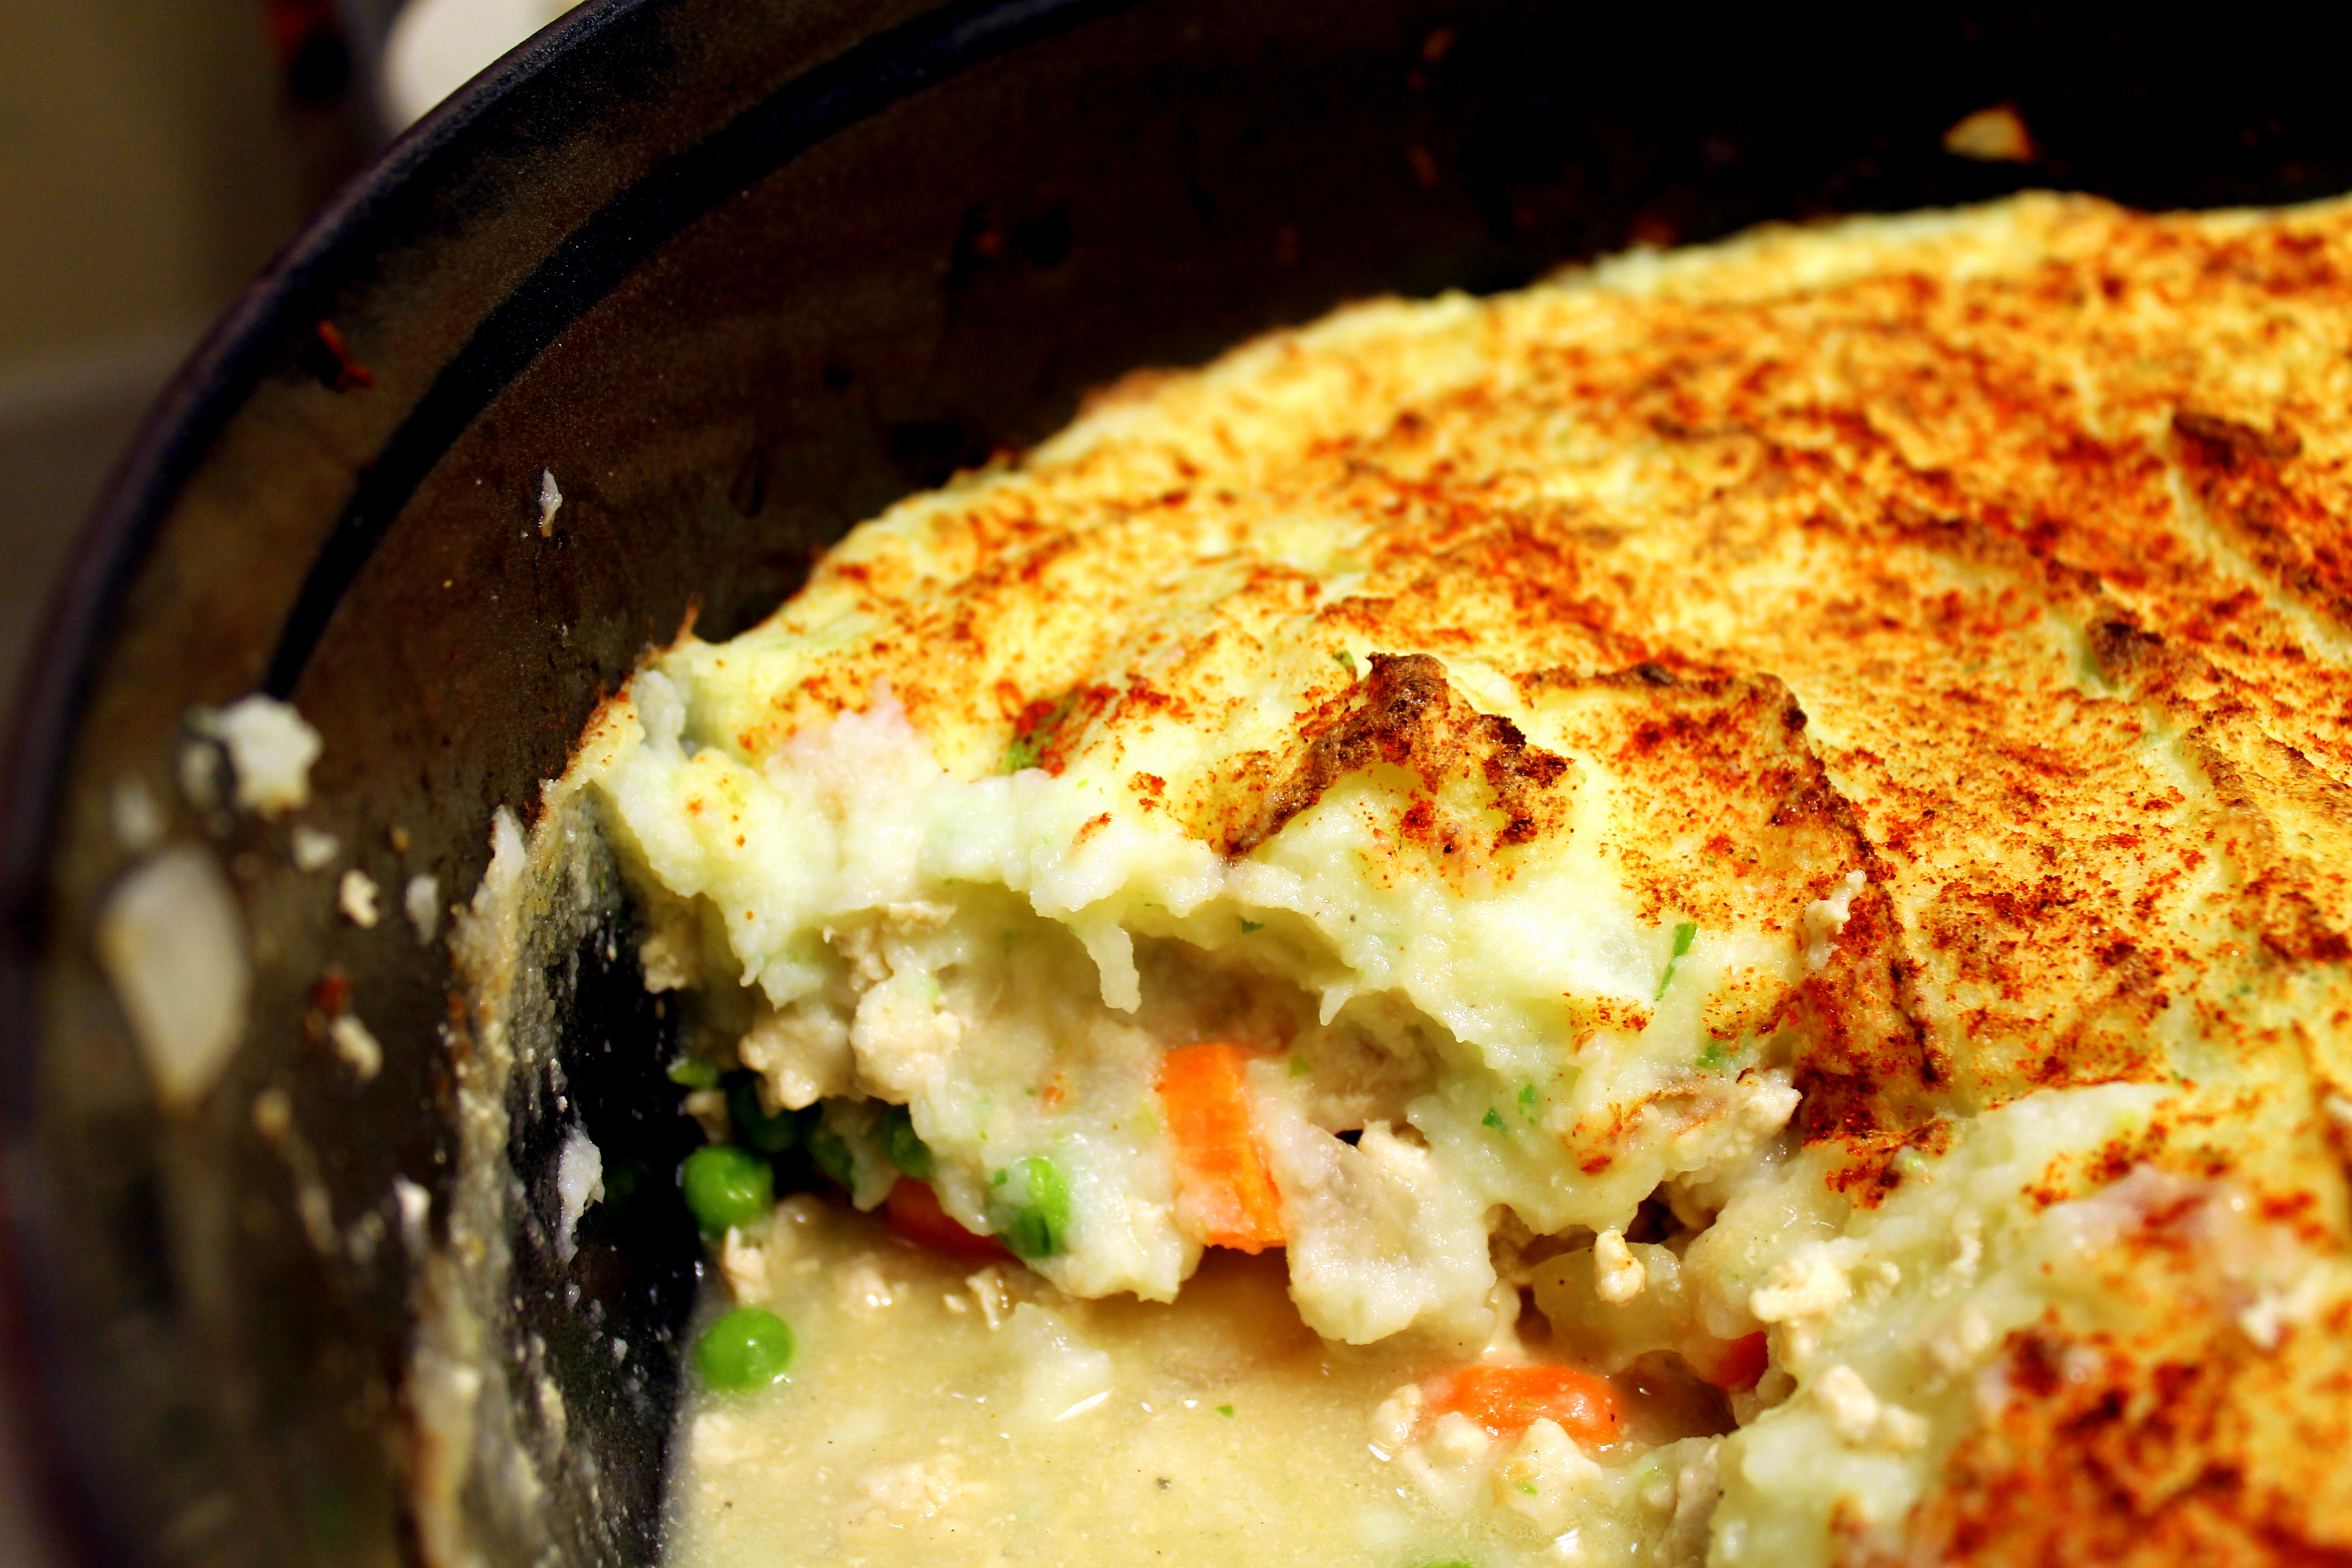
In case you are wondering about my protein choice in the Pie, I have nothing against red meat.  I buy mine grass-fed where possible, because it’s lower in saturated fats and doesn’t have inflammatory grains.  We eat some form of beef about once a week.  In fact, I substituted the ground beef that is in traditional Pies with ground turkey precisely because we had just had large steaks a couple days before.  Again, it’s just a balancing issue for me–I try to vary the proteins I eat, as well as the veggies, so that I make sure I get all the nutrients from the different sources.  In any case, because I subbed in poultry, I changed the broth in the recipe to chicken so that the flavors matched.

One last note:  while this recipe is not difficult, it does have a few steps to it.  I modified the original a bit so that you could use one pan for most of the things, but if you are new to cooking, I would recommend doing this on a Sunday afternoon rather than a weeknight.  Then you have a lunches for the whole week!

Lighter Shepherd’s Pie
Adapted from Comfort of Cooking

Image

Ingredients:

For the mash topping:
1.5 lbs white potatoes
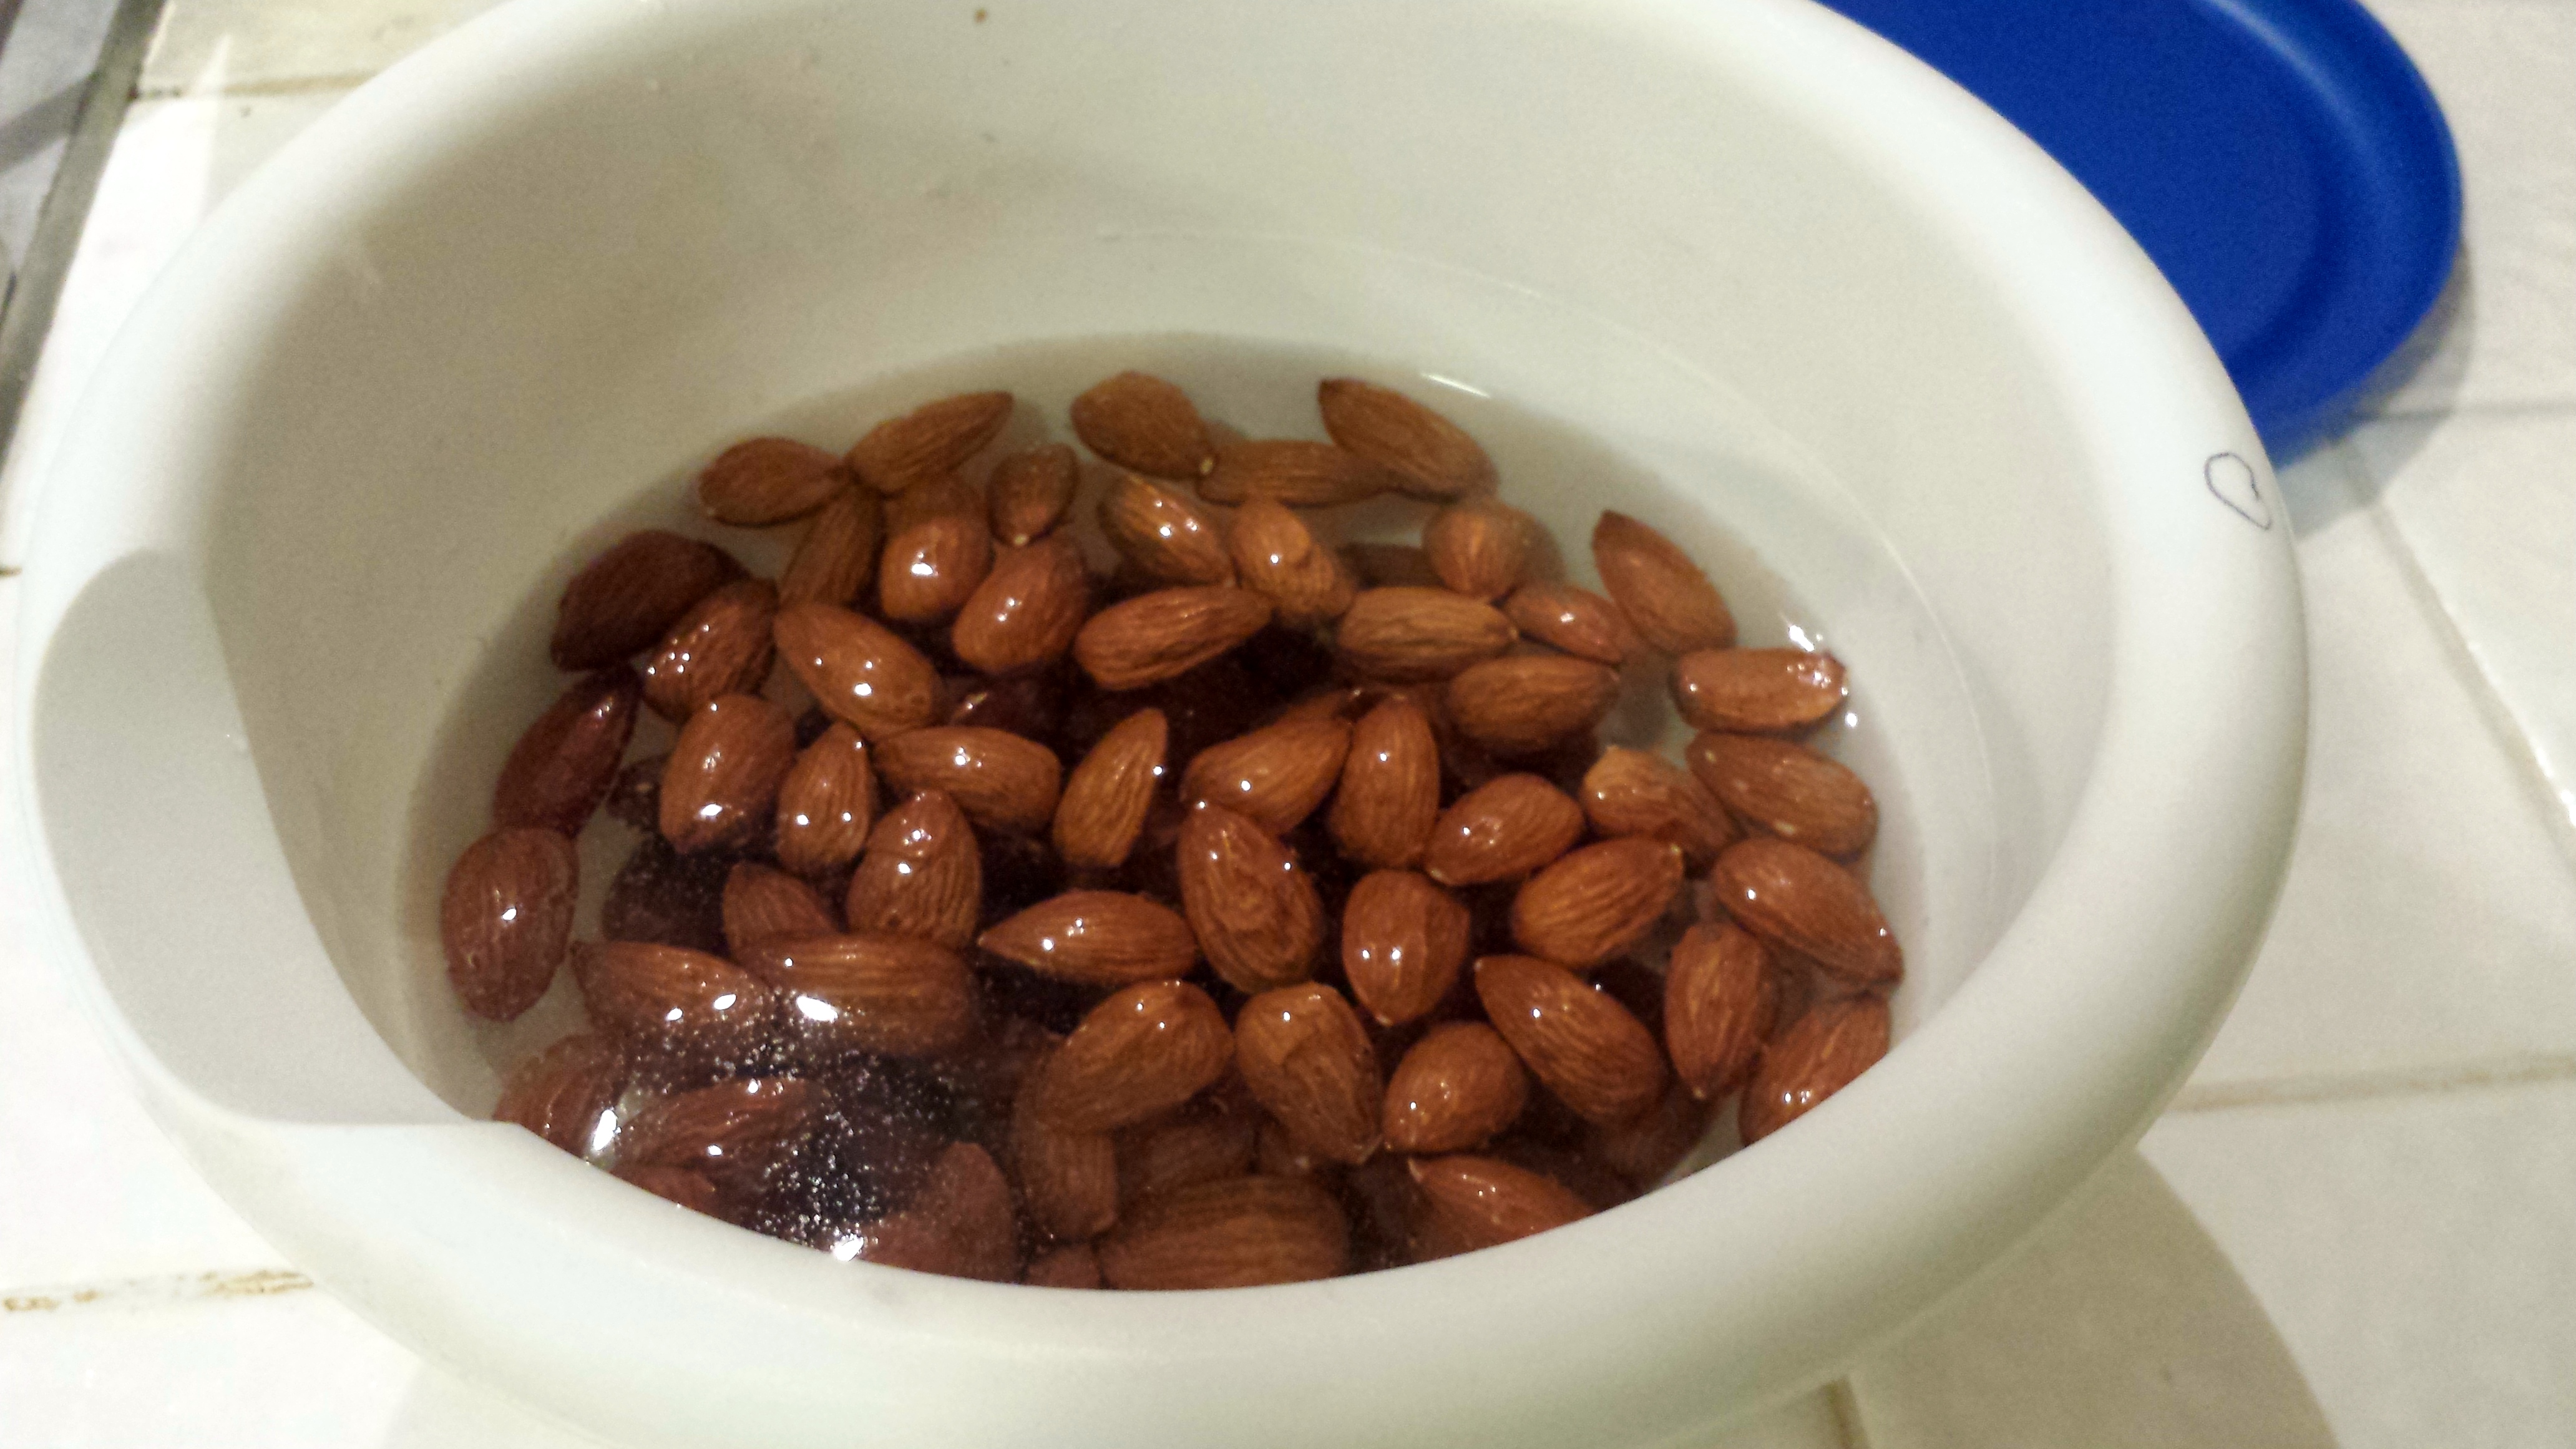
1 head cauliflower
1 tbsps softened cream cheese or sour cream
1 large egg yolk
1/2 cup chicken broth
2 green onions, chopped

For the filling:
2 lbs lean ground turkey
1 tsp olive oil
2 carrots, peeled and chopped
1 onion, diced
2 tbsps butter
2 tbsps all-purpose flour
1 cup chicken broth
2 tsps Worcestershire sauce
1/2 cup frozen peas
1/4 tsp paprika

Directions

1.  Cut the cauliflower in half, and trim away the cauliflower florets from the base in the middle, like so.
2.  Boil the potatoes and cauliflower in salted water in a large stainless steel pot until tender, for about 12 minutes or when a fork can easily pierce them.*
3.  While the potatoes are boiling, preheat the olive oil in a large dutch oven** over medium high heat.  Add the ground turkey, season with salt and pepper, and brown the meat until mostly cooked through, about 5-7 minutes.
4.  Add the carrot and onion to the meat, and cook for another 5 minutes, stirring frequently.  Lower the heat to low.
5.  When the veggies are done, drain them, and then pour them back into the pot.  Set aside while you get the gravy started.
6.  Melt the butter in a small saucepan over medium heat.  When melted, whisk in the flour, and cook for 1 minute.  Whisk in the broth and Worcestershire sauce, and then let the gravy thicken for about a minute.  Pour the mixture over the meat filling in the dutch oven, add the peas, and mix together.
7.  Then, add the cream cheese, egg yolk, chicken broth, and chopped green onions to the potatoes and cauliflower.  Mash by hand, or use a hand mixer or immersion blender to blend until smooth.
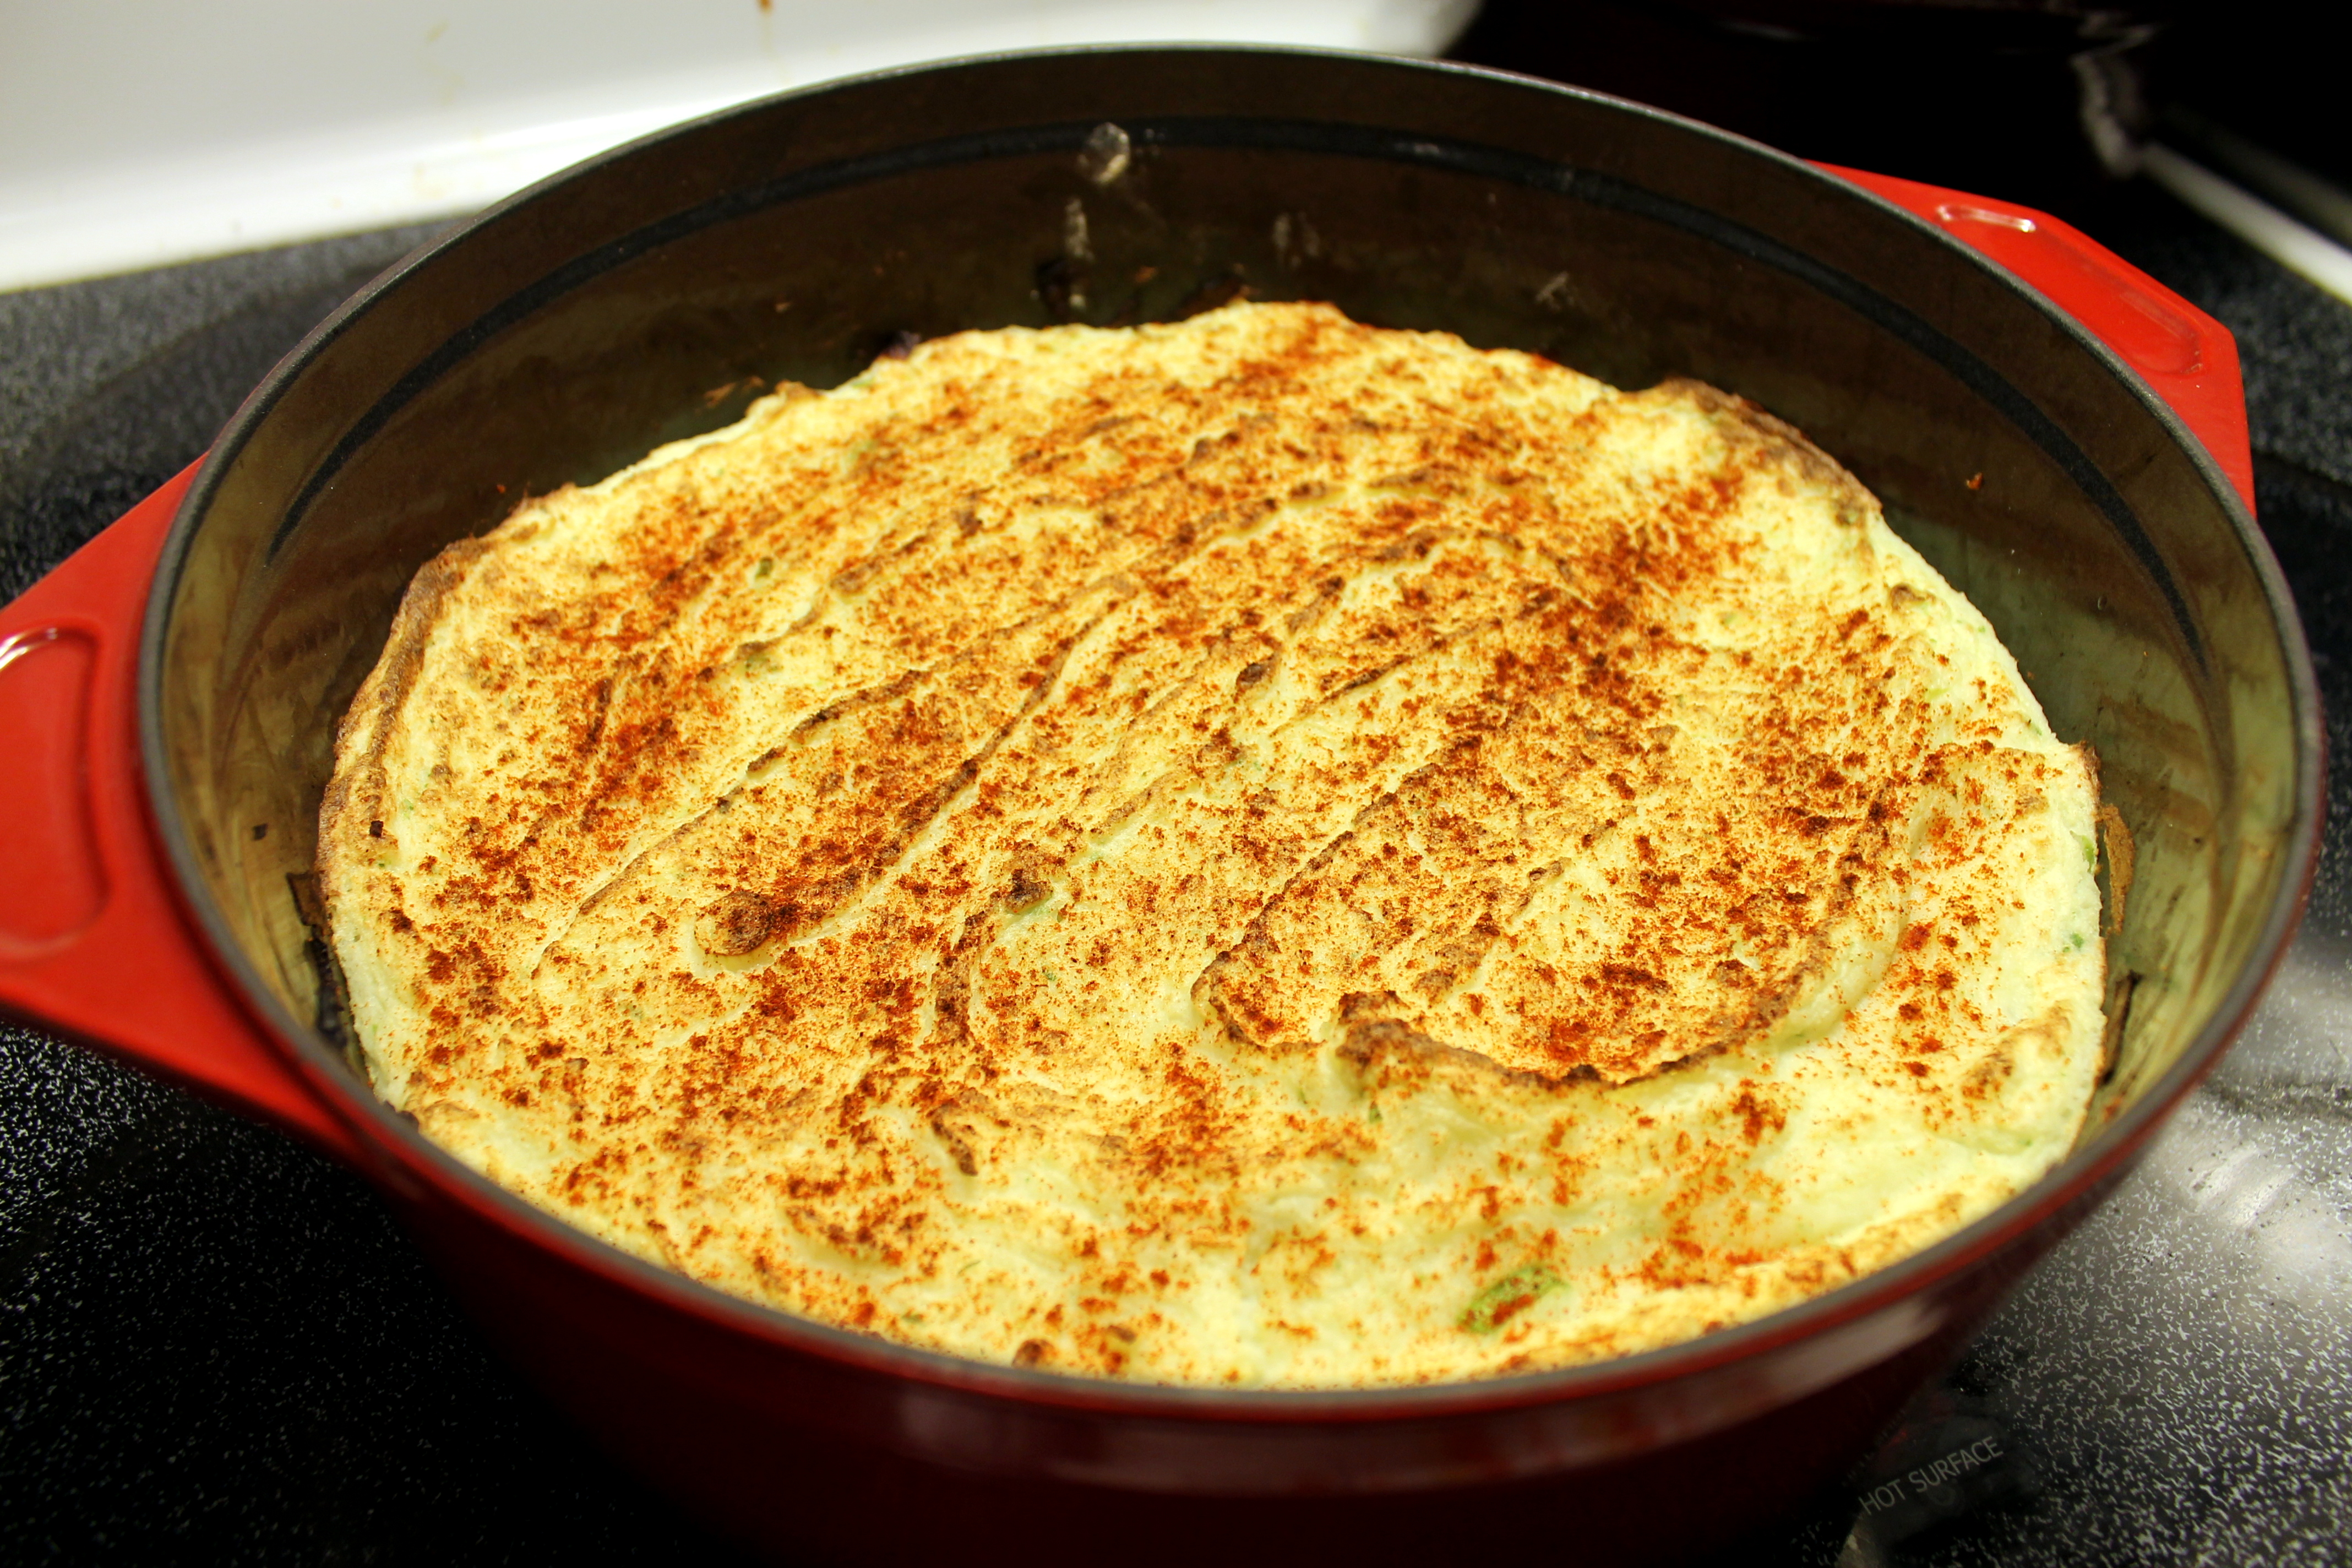
8.  Preheat the broiler to high, and set the highest rack to about 6-8 inches away from the broiler.  While it is preheating, spoon the mash evenly over the meat.  Sprinkle the top with paprika.
9.  Put the  dutch oven in the oven and broil until the potatoes are evenly browned, about 5-7 minutes.

IMG_6680

*I wrote these directions with multi-tasking in mind.  If you aren’t comfortable in the kitchen, I would finish the potatoes all the way through first (ie. skip to step 7), and then go back and start with the meat (after having prepped your mise en place, of course).

**I used a dutch oven so that I could go from stove-top to broiler with the meat.  The original recipe calls for filling a rectangular oven-safe dish with the meat and vegetables, but I didn’t want to dirty more dishes.  Feel free to follow the original recipe if you don’t have a dutch or french oven.