The thing that never fails to elicit either a quizzical glance or a curious question is when I tell someone that I make my own almond milk.
I’m not exactly sure why this always takes people by surprise, but I suspect it has something to do with the fact that the things we buy in the store, the things that come already made for us, are complete mysteries to us. I mean, how many of you already buy almond milk at your grocery store? Or coconut milk? Or almond butter? Or any number of other products. We buy them on autopilot, because the food industry has succeeded in making us believe that those unpronounceable ingredients on the back of the package are somehow necessary to make that product.
So I think when someone hears that I make almond milk, it’s jarring. I can usually see the emotions and thoughts flit across their face–amusement then confusion then some brief thoughts of “She’s fallen off the edge,” and then, finally, genuine interest–all culminating in the question: How?
And my answer is always: “It’s the easiest thing in the world!” That’s not even a little bit of a lie. In fact, the directions boil down to three steps:
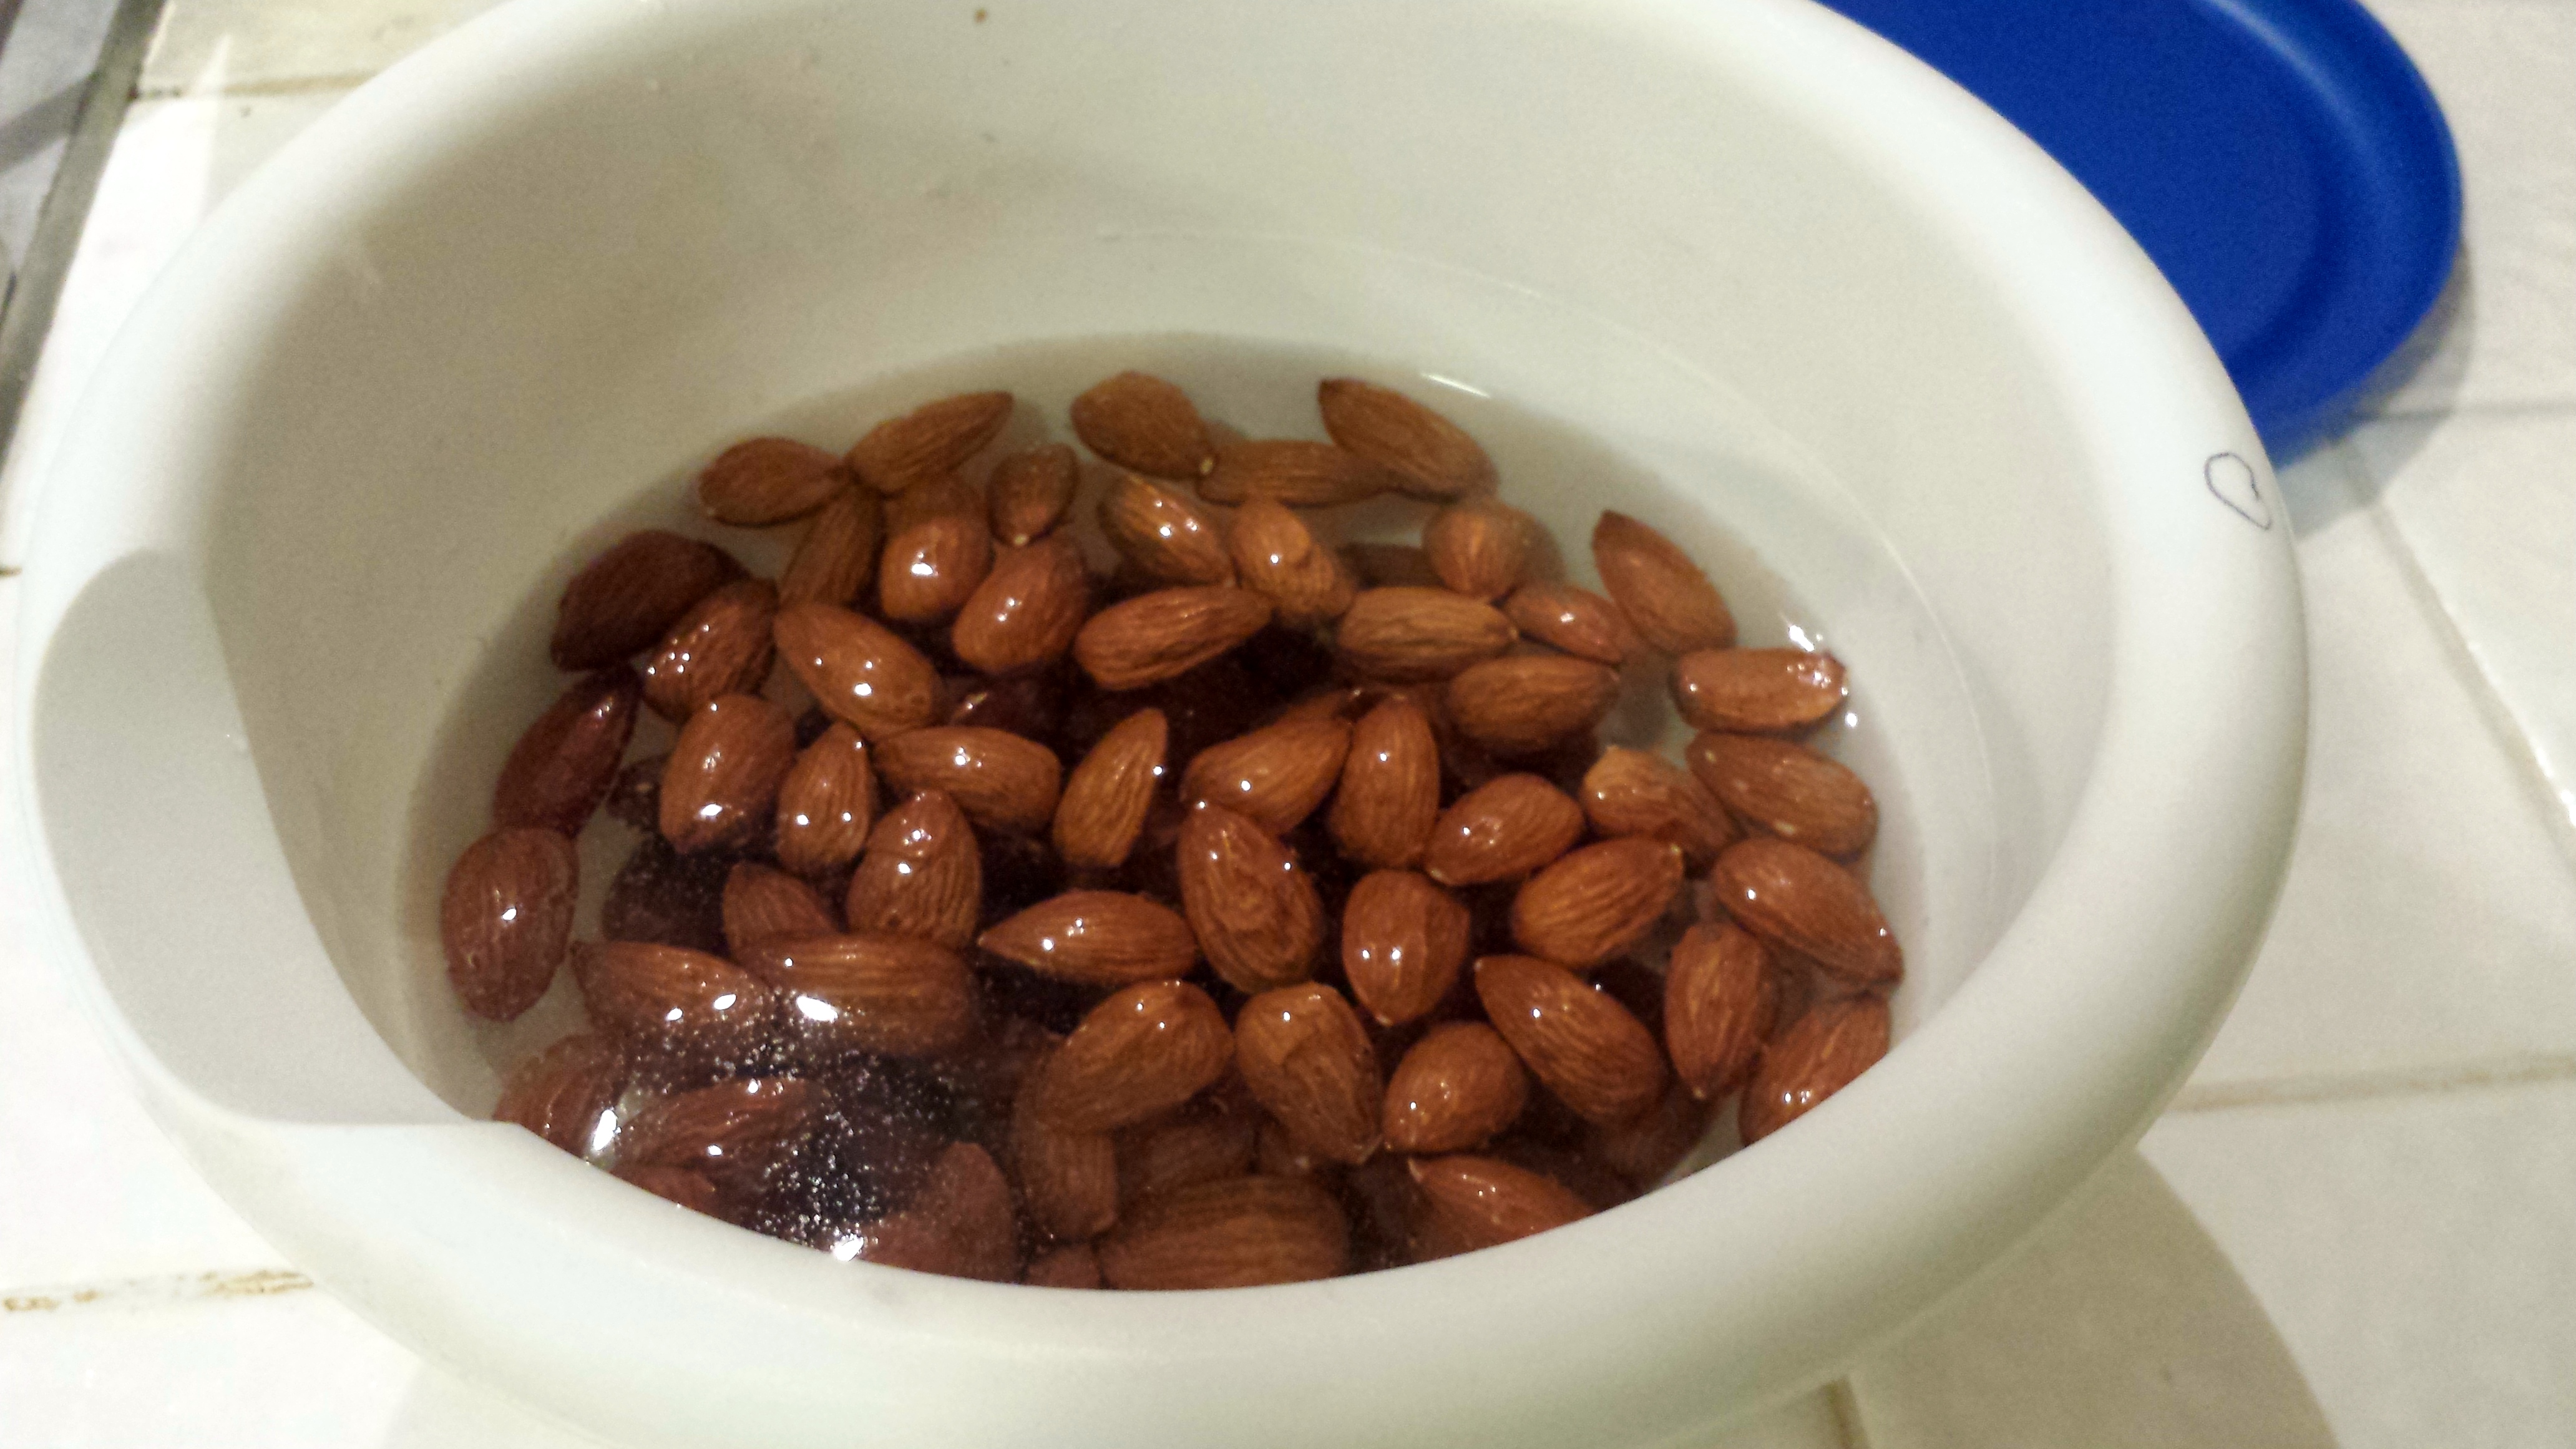
Step 1: Soak.
Step 2: Blend.
Step 3: Strain.
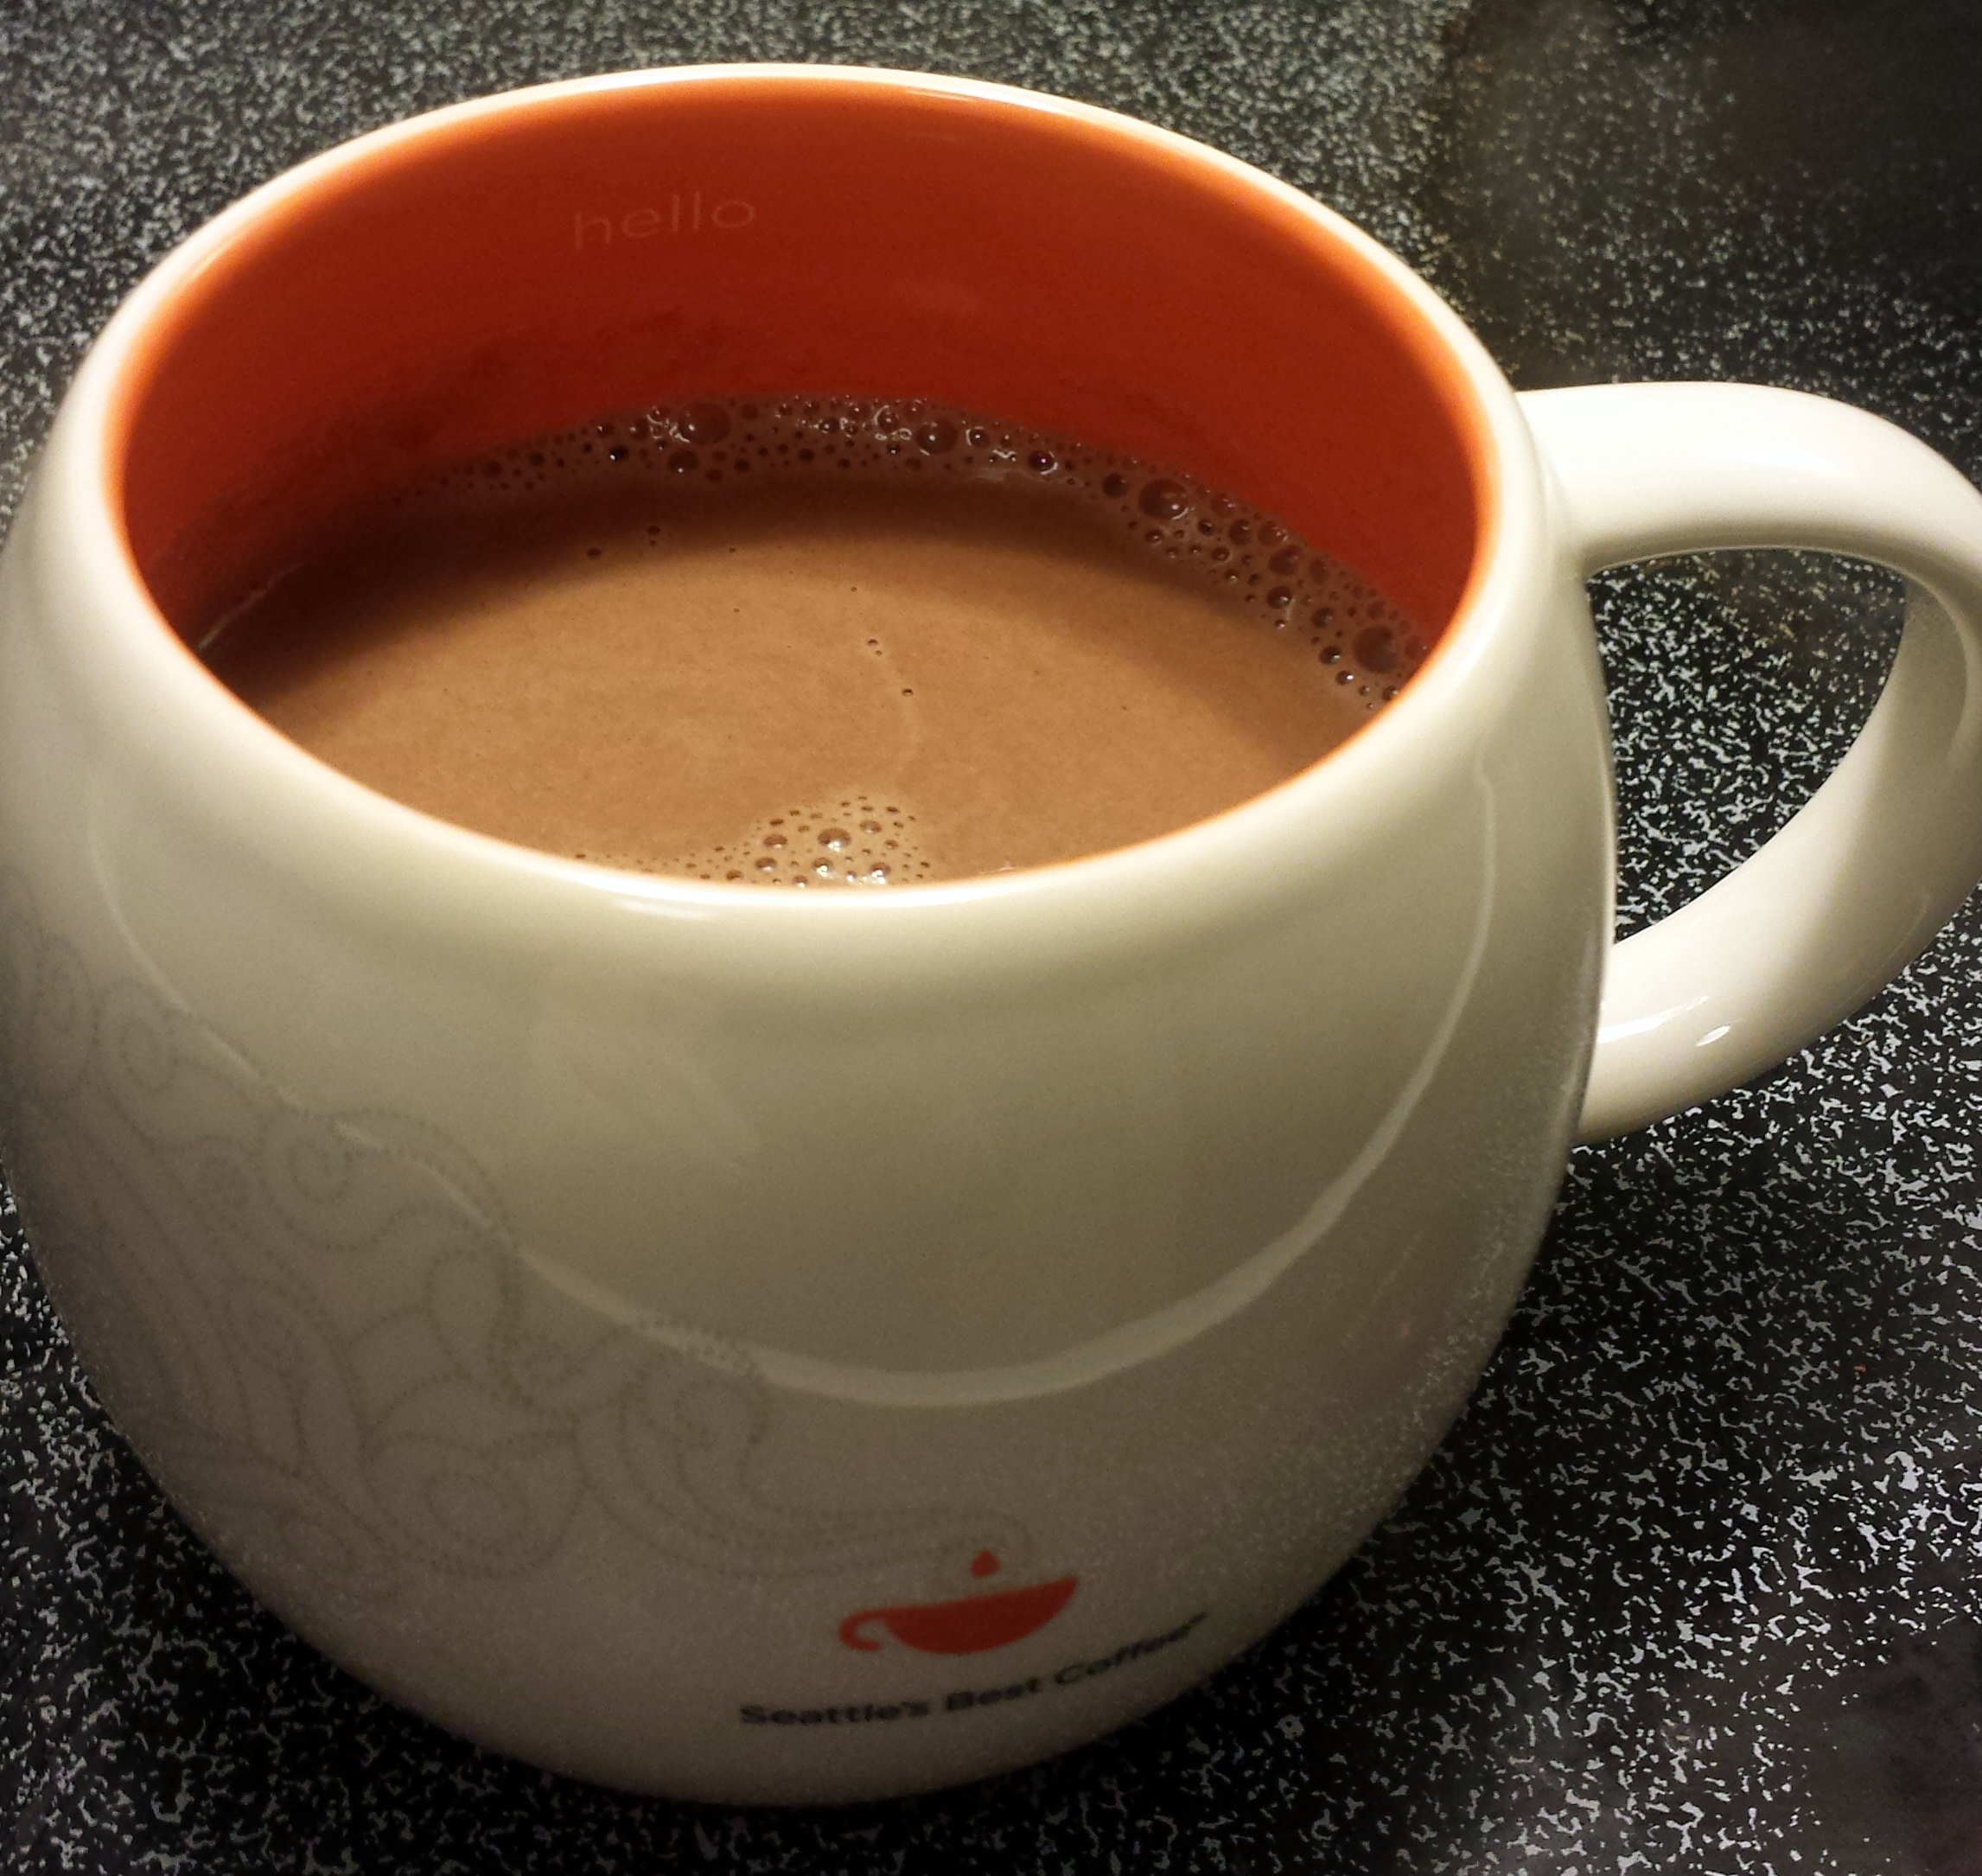
Really, that’s all it takes. And the result is a slightly sweet, not as thick, more almond-flavored, light-feeling beverage. I go with unsweetened because I usually end up using it in recipes where I want to tailor the flavor a little more, but you could absolutely add a date, sugar, vanilla, or any other number of flavorings to the blender to sweeten it.
Home-made Almond Milk
Makes about 6 1/2 cup servings

Ingredients:
1.5 cups almonds
3.5 cups water
Small bowl with a lid
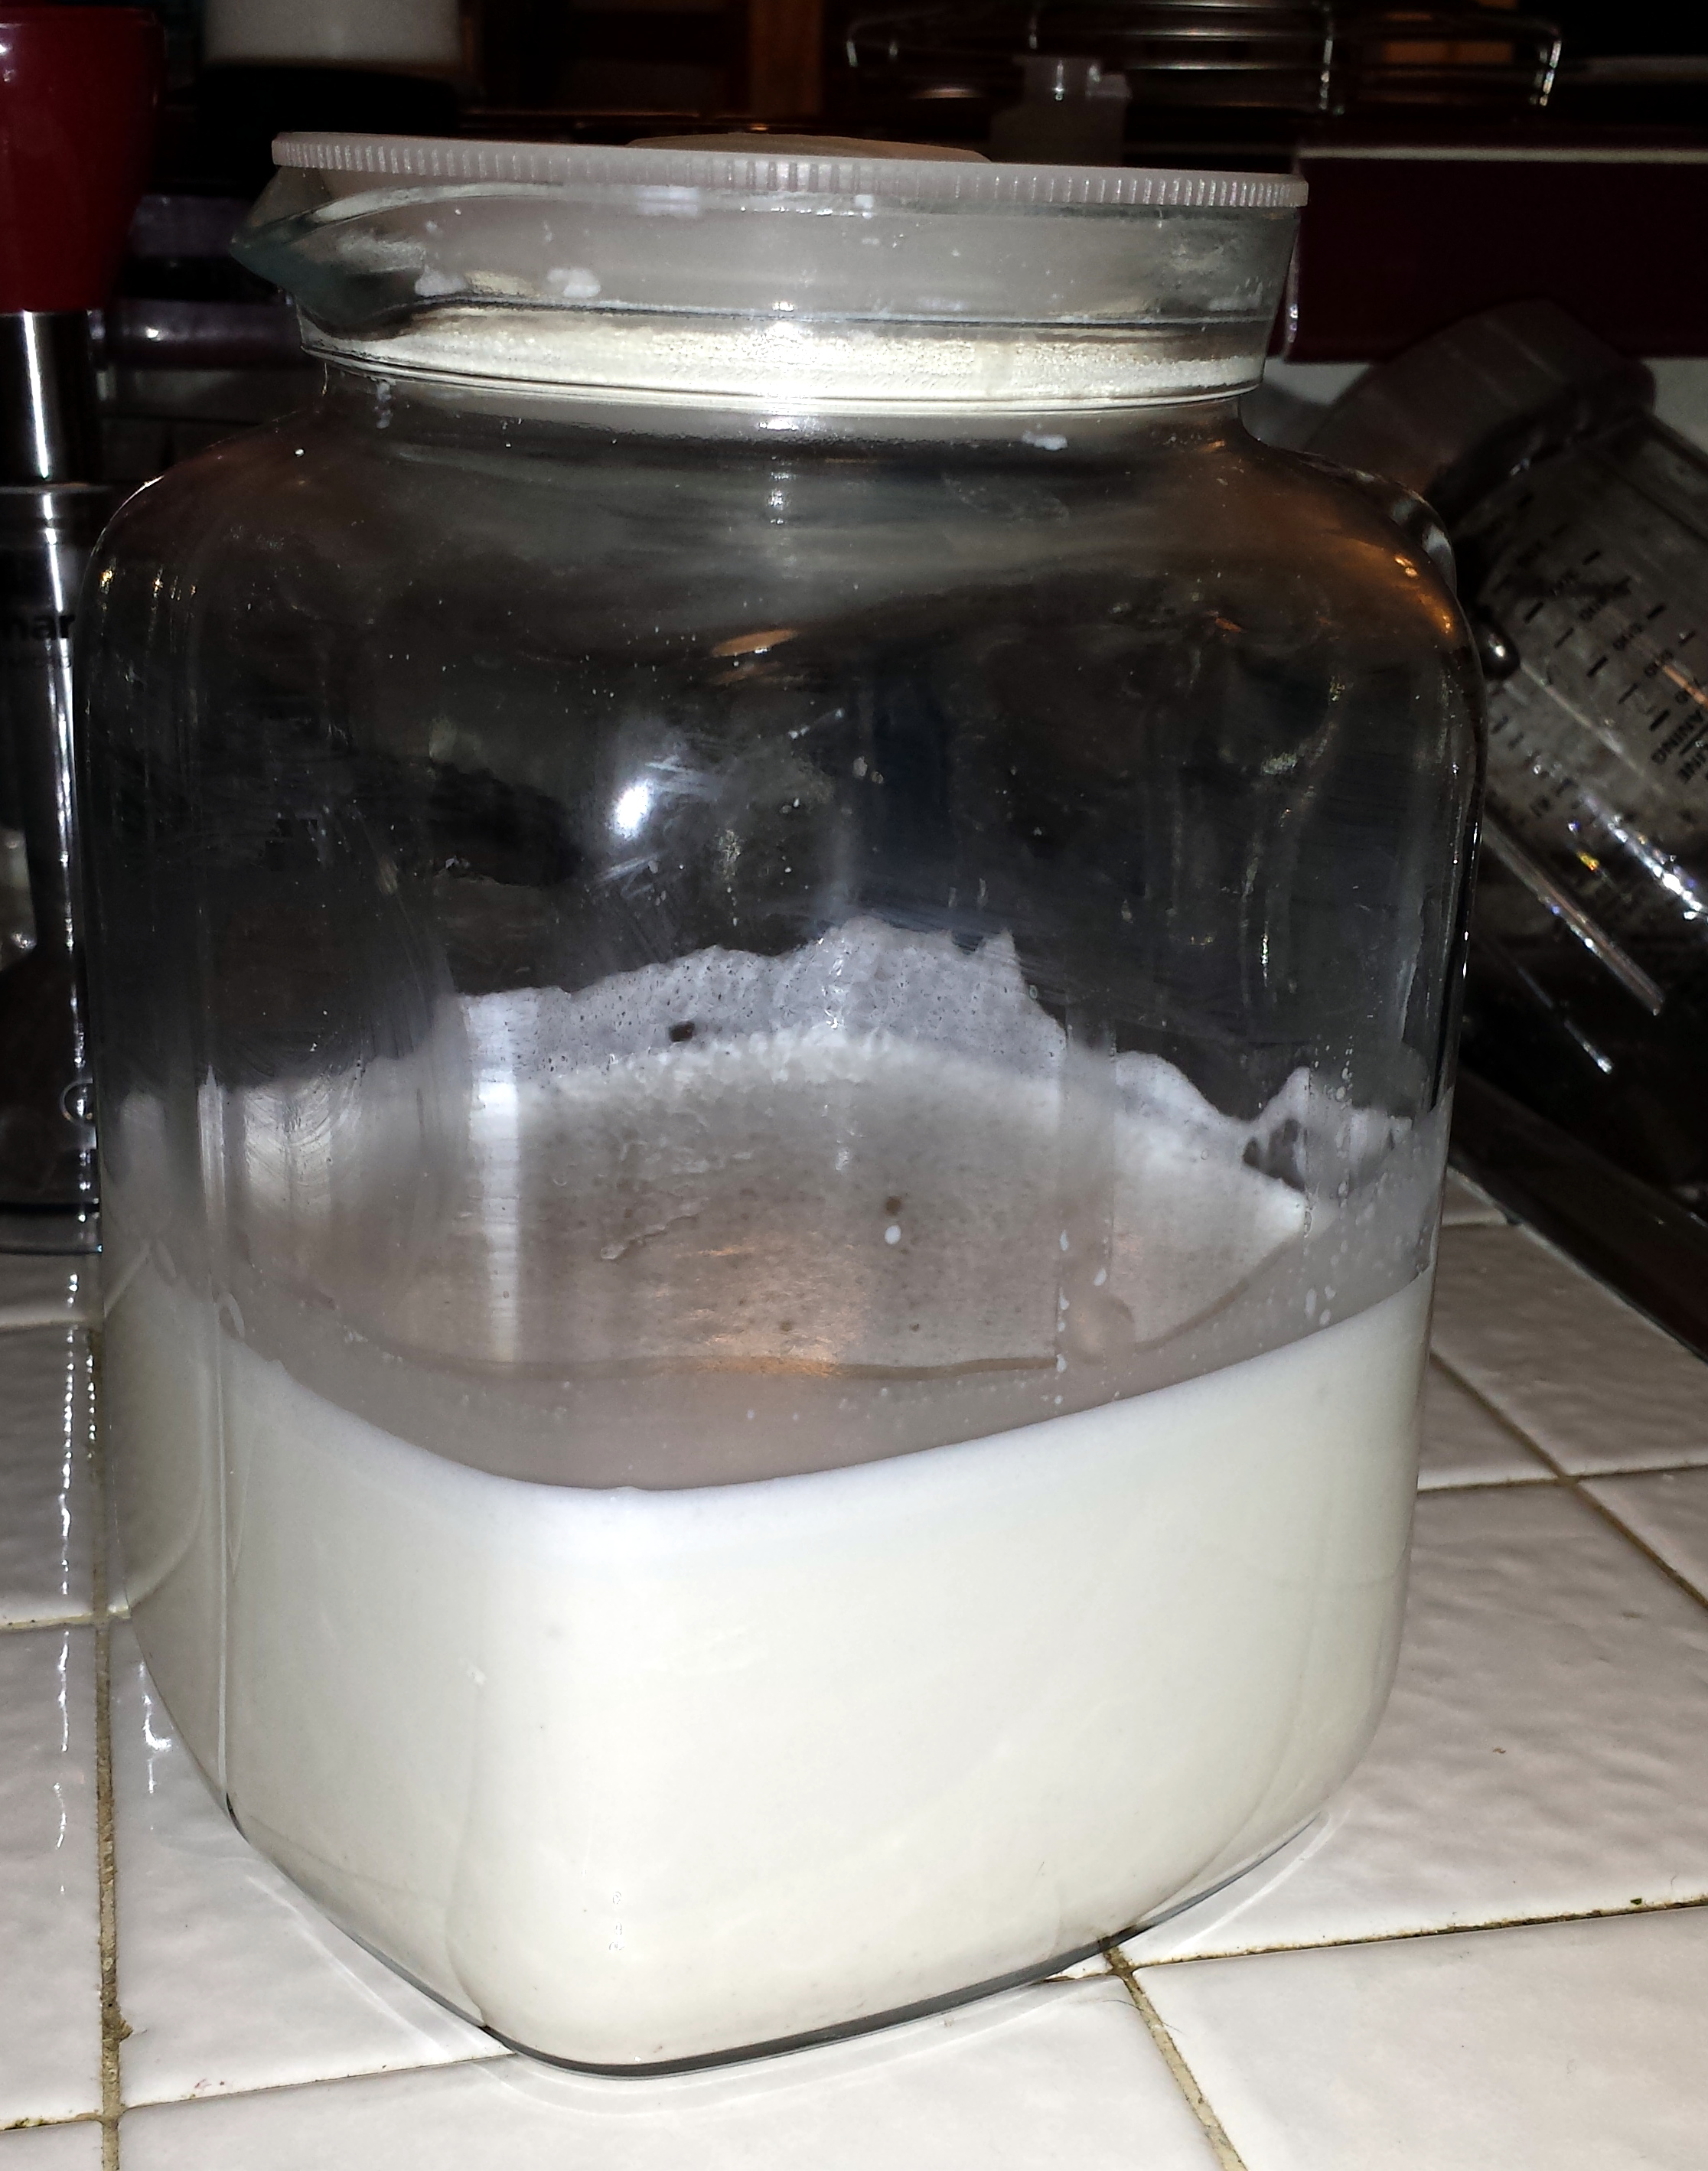
1 air-tight container
Cheesecloth or a nut milk bag
One medium or large strainer
A blender
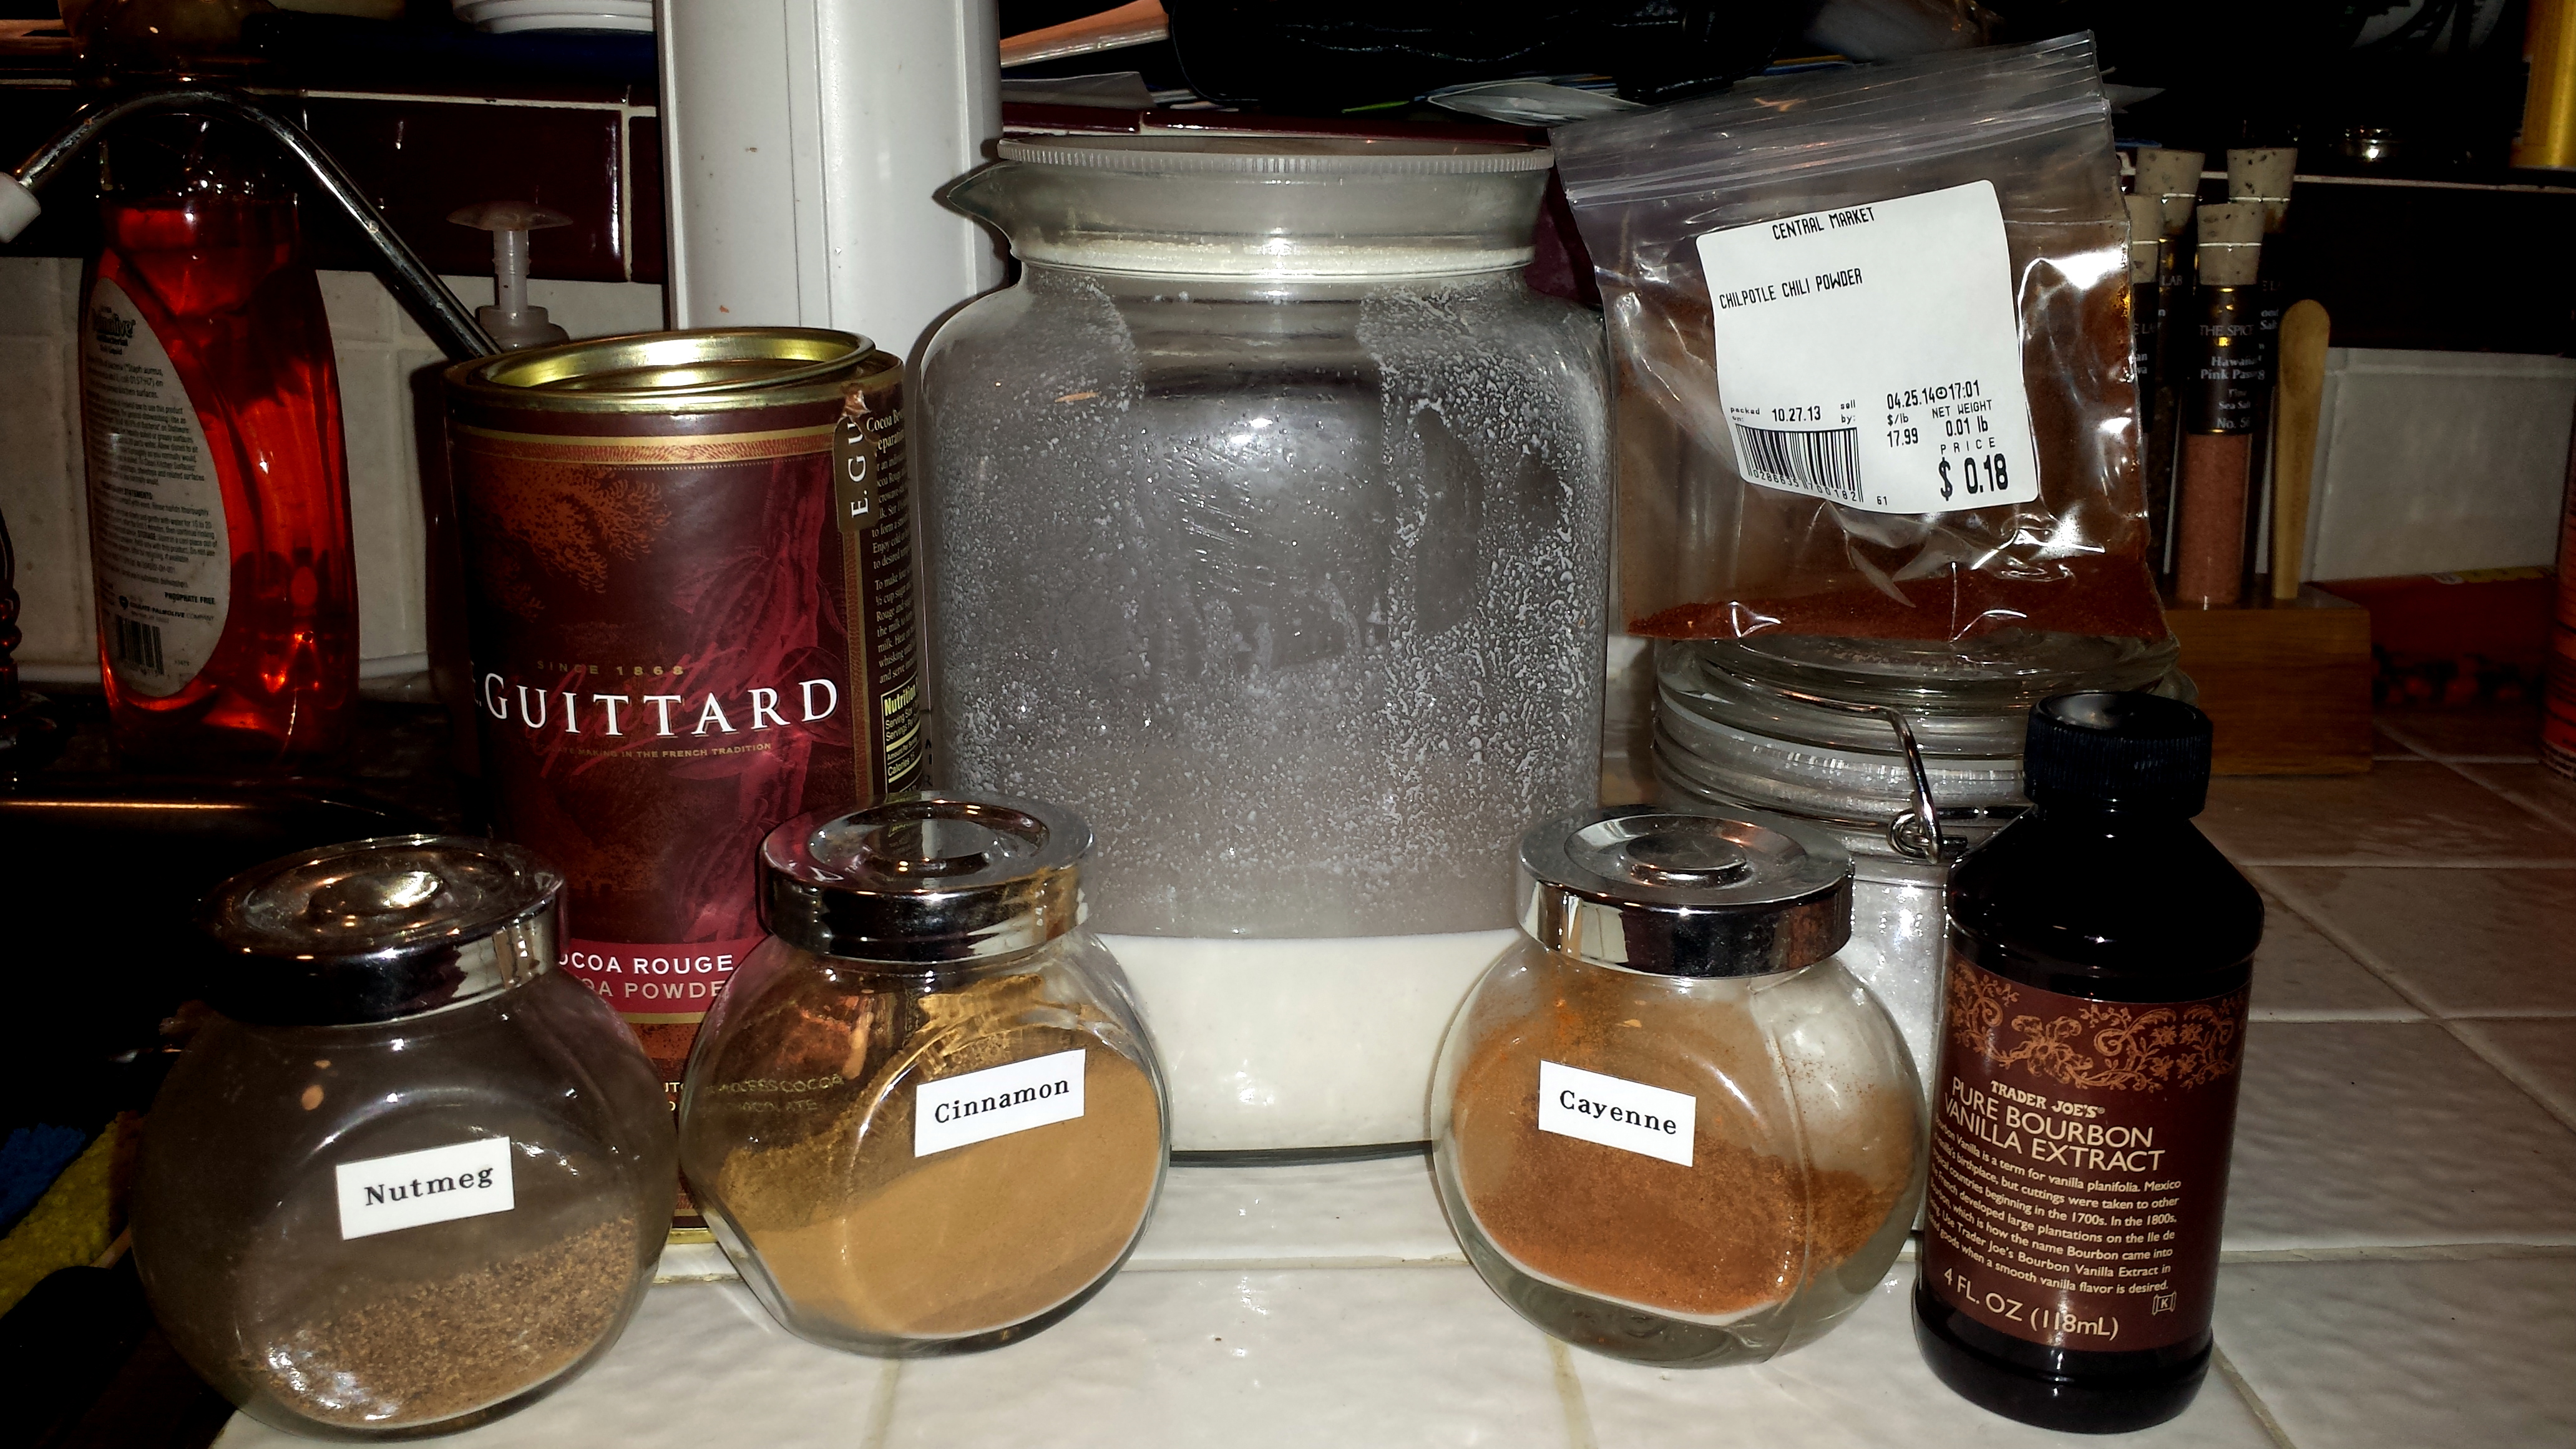
Optional flavorings: date, sugar, cinnamon, vanilla extract
Directions:
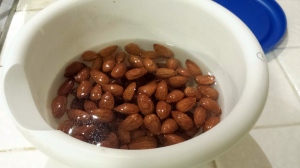
1. Put the almonds in the small bowl, and fill with water until the almonds are covered. Put the lid on, and let the almonds sit (on your countertop is fine) at least overnight. The longer you let them sit, the creamier your milk will be. I have let them sit for 2 days, but I probably would not exceed that.
2. Pour the almonds into your strainer to get rid of the old water (thought you were gonna drink that, didn’t you?). Put the strained almonds into the blender. Add the 3.5 cups of fresh, filtered water. Add any flavorings you want. Blend for about 5 minutes.
3. While it’s blending, set up your squeeze station. I balance the strainer into a bowl like so:
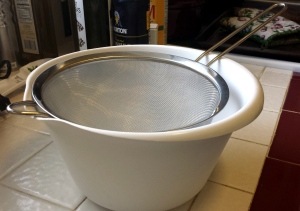
Then, line the inside of the strainer with the cheesecloth. The strainer will do the job of sifting through the almond pieces, but you’ll want to cheesecloth so you can take out the drained mixture and squeeze the hell out of it.
4. Pour the blended almonds into the strainer. If your strainer is big enough, you could pour the whole thing in and let gravity do the work. If it’s not, you can do as I do and pour in a little bit at a time, let it sit, and then press down on the mixture with a spatula when I get impatient.
5. At some point, the dripping will start to slow down as the almond meal starts to clog the pipeline. That’s when you do this:
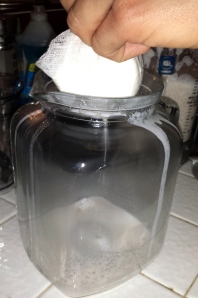
Take the cheesecloth out of the strainer, wrap everything up so no almond milk will spill out of the open sides, and use whatever amount of muscle you may have to squeeze the life out those poor little almonds. Voila, almond milk!
6. OPTIONAL: if you have any moral qualms about discarding all the leftover almond bits, you can repurpose them and make almond meal! Just preheat your oven to 200 degrees, spread the mixture out on a baking sheet, bake for about 2 hours until dried out, and then pulse it in a food processor for a little bit. This can replace flours in baked goods or bread crumbs in pretty much any other dish!
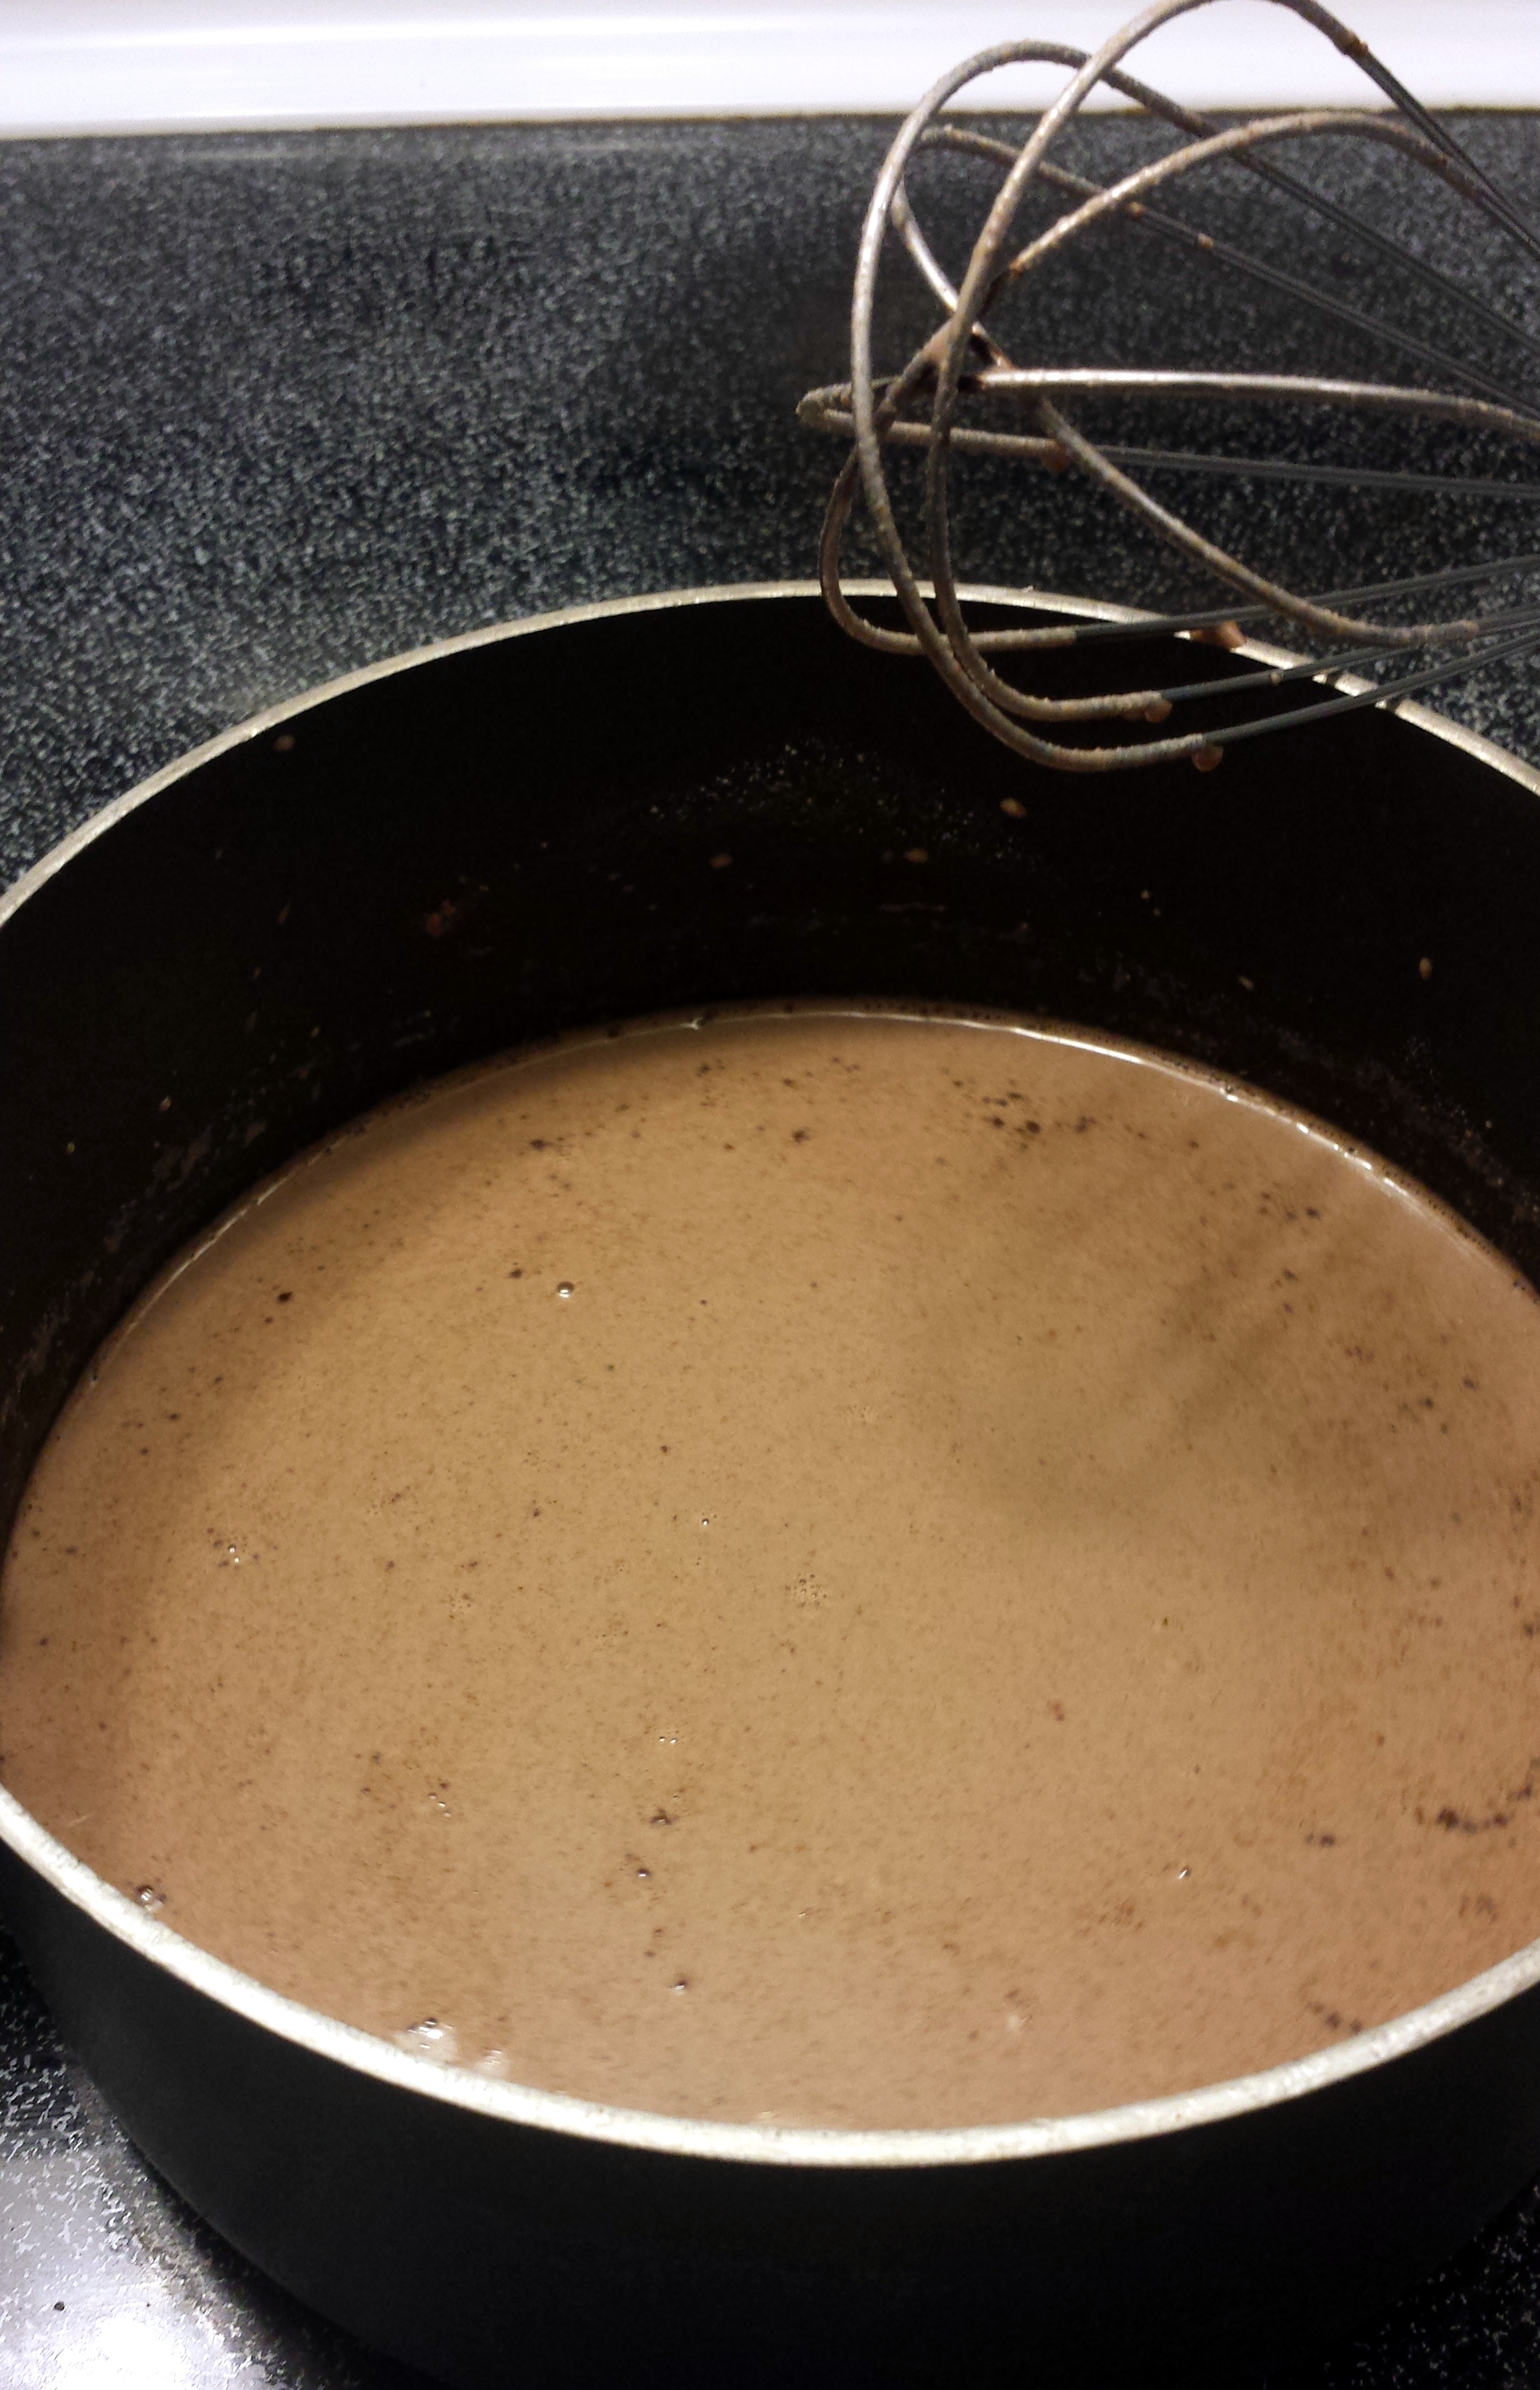
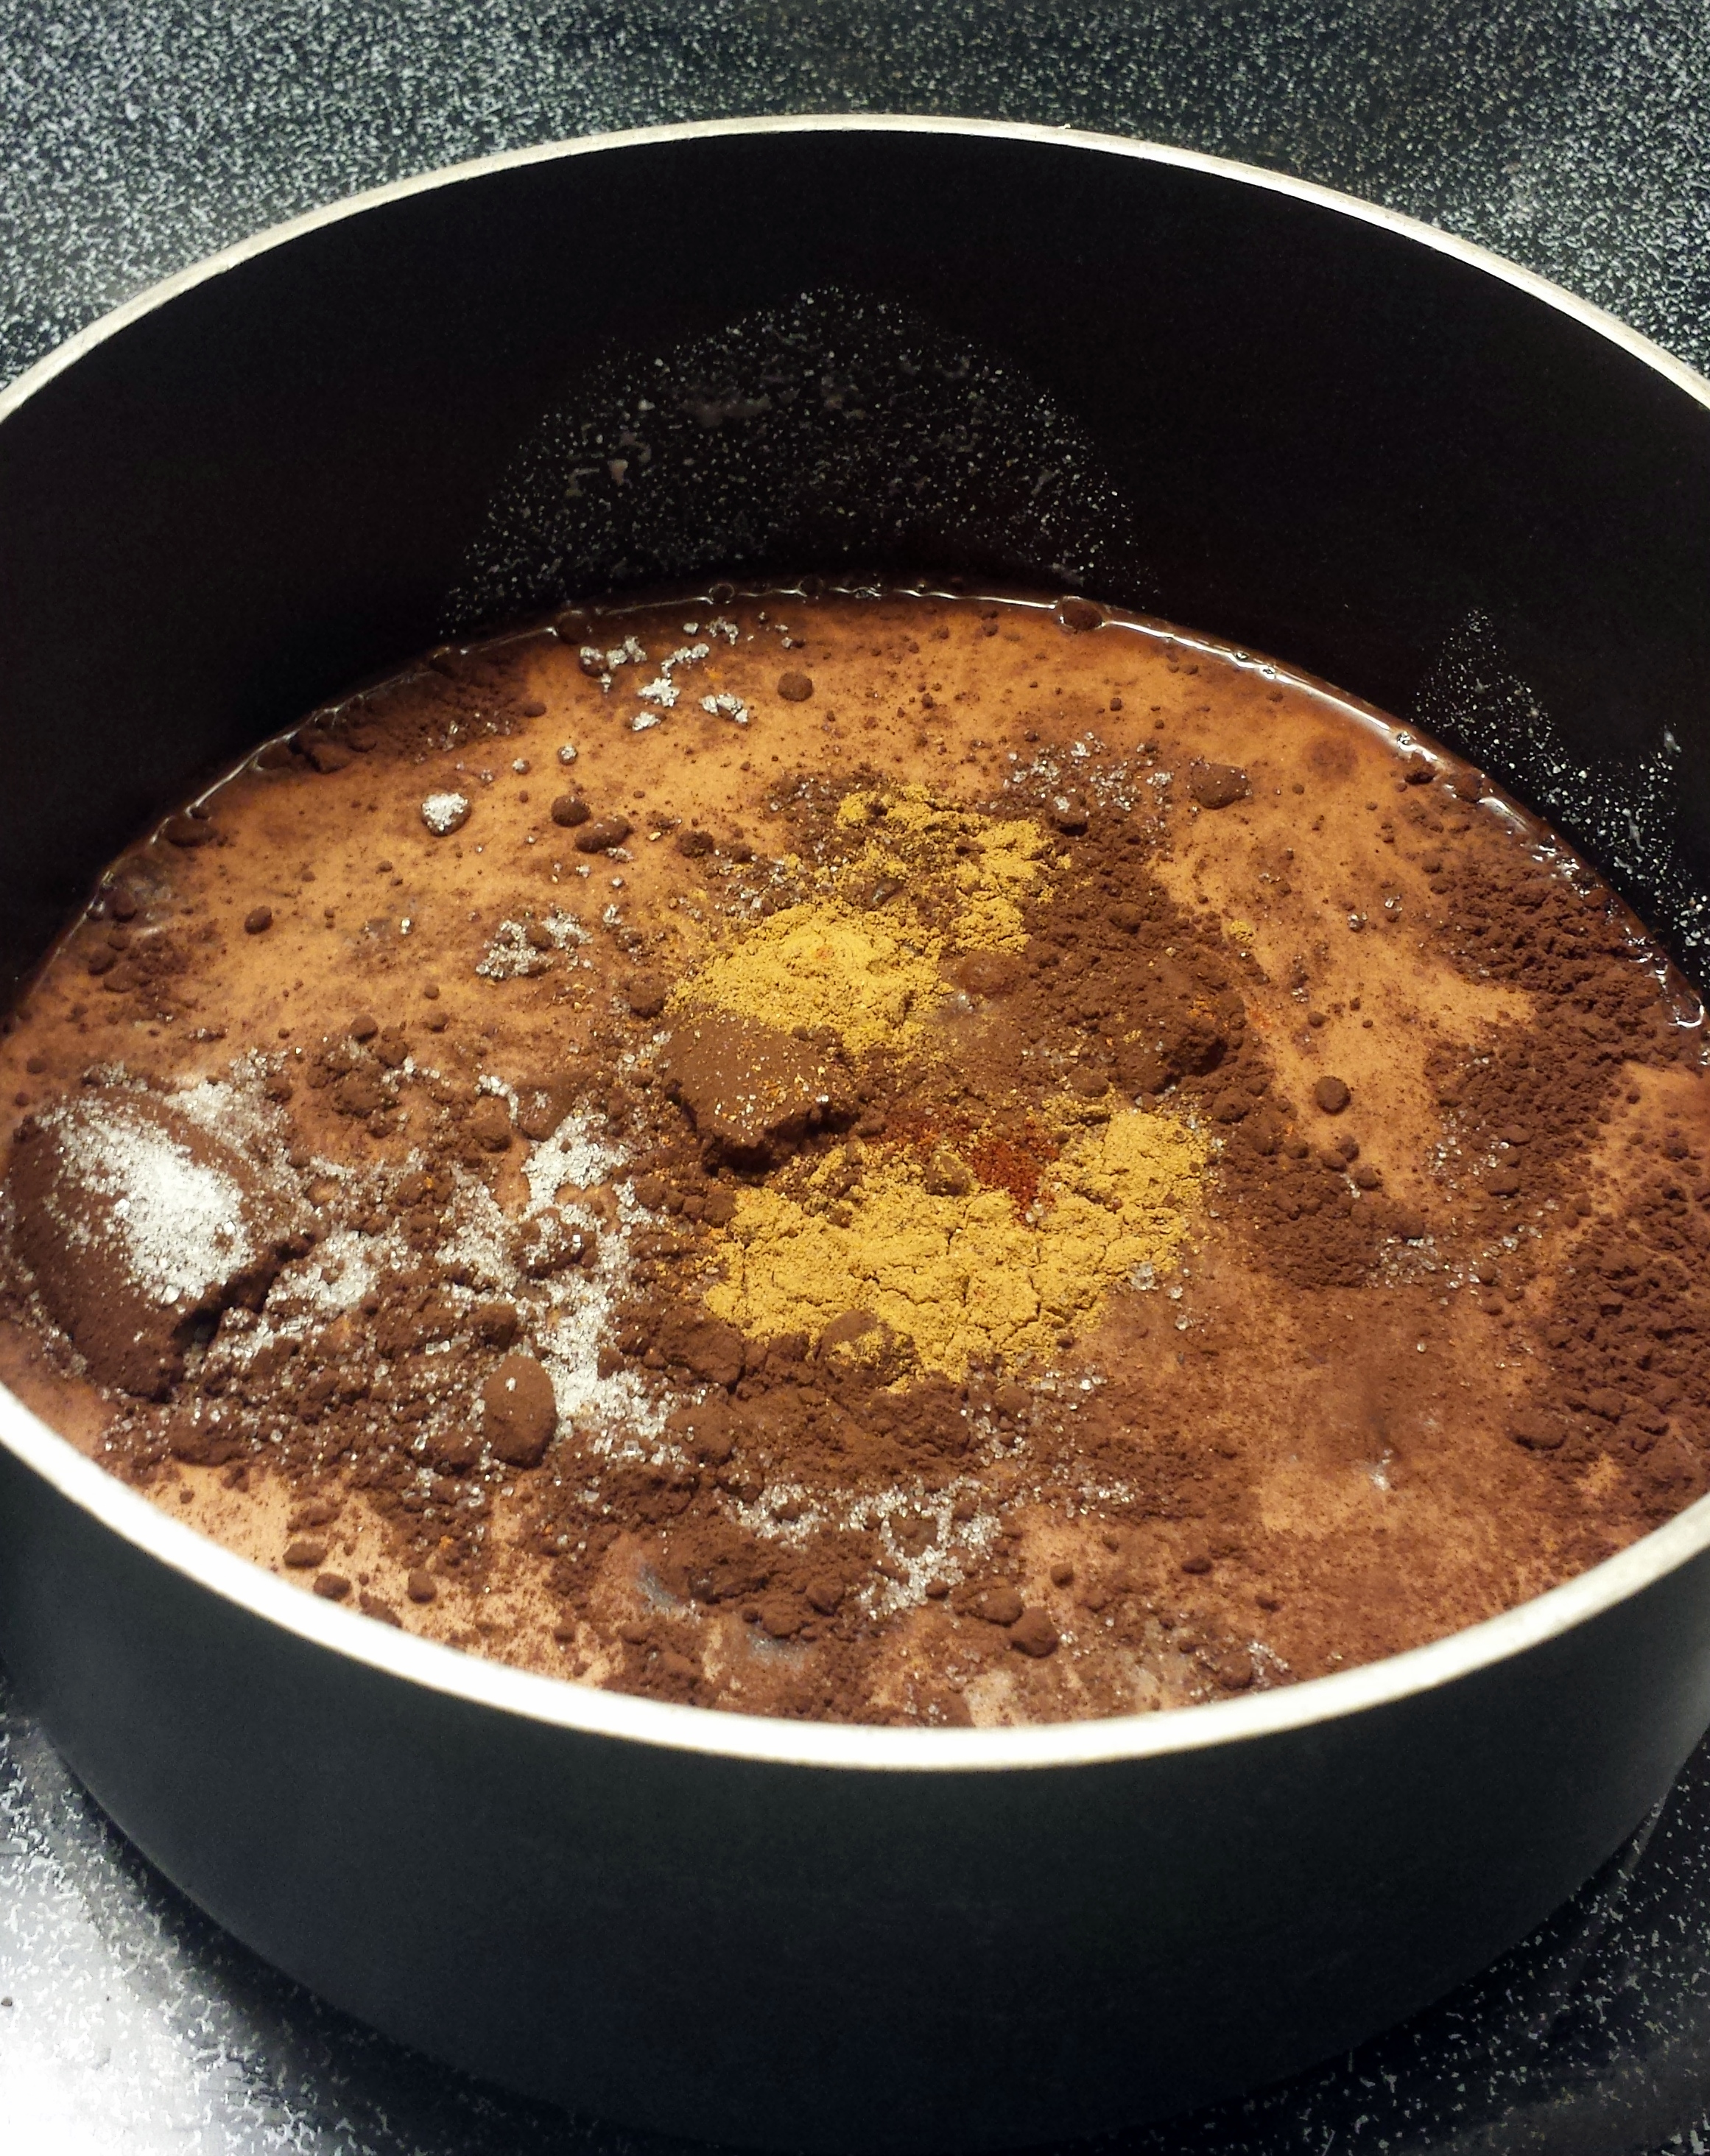 Step 3. Whisk everything together so it dissolves.